Link to Website Index: ![]()
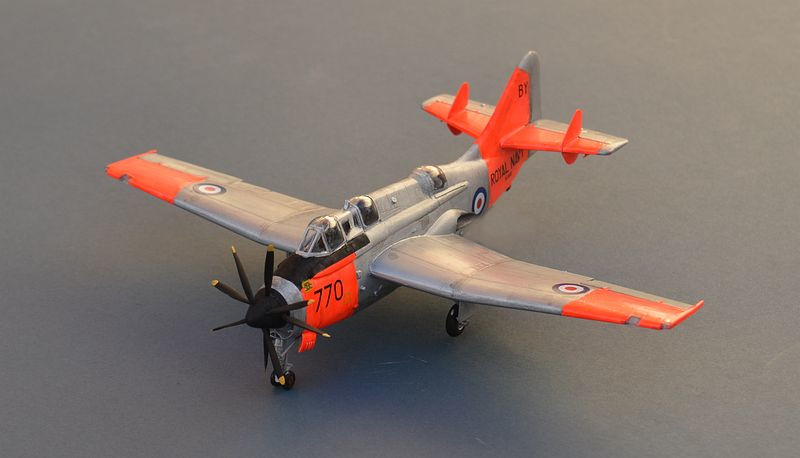
Fairey Gannet T.5
849 Naval Air Squadron, HQ Flight
RNAS Brawdy, 1969.
Trumpeter 1/72
The Fairey Gannet entered service in 1954 as an anti-
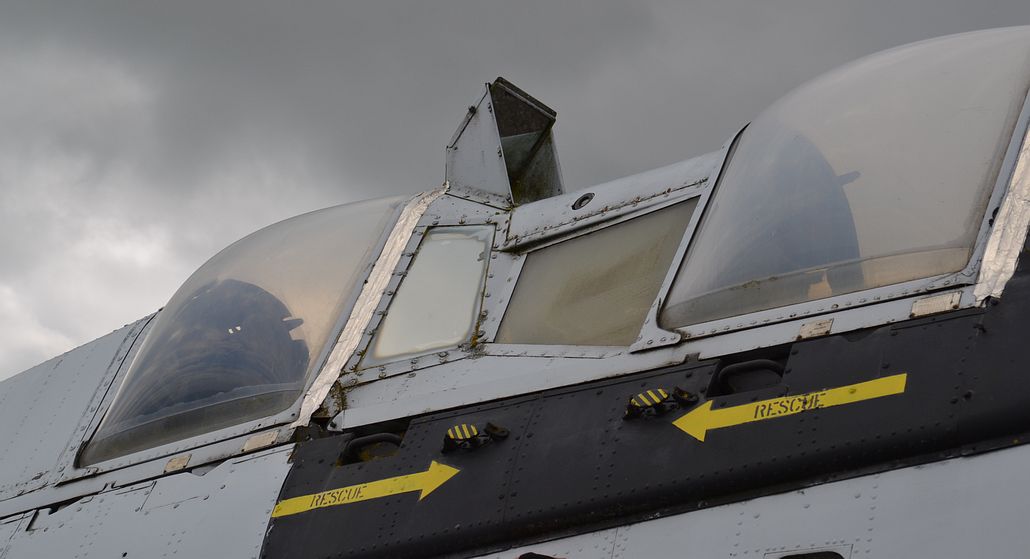
A total of 38 T.2 Trainer variants (based on the Gannet AS.1) were built, with their radar removed, dual cockpit controls and a periscope mounted above the canopy centre section to allow the instructor a view forward. These entered RN service in 1955, with a further 11 T.5 variants arriving in 1957 based on the Gannet AS.4, with a further 3 converted from T.2s. The trainers were shore based, but fully able to land onboard carriers.
As with the ASW Gannets, trainers were supplied to Australia and Indonesia.
Building the Trumpeter Gannet kit:
Fairey Gannets are definitely in the air this month as many modellers wait with bated breath for the new 1/48th Airfix kit! In the meantime, I have decided to do a few of the kits that are in my stash, with a colourful 1/72 Gannet T.2 (or is it a T.5?) trainer from Trumpeter as a follow on to last month's Sword AEW.3.
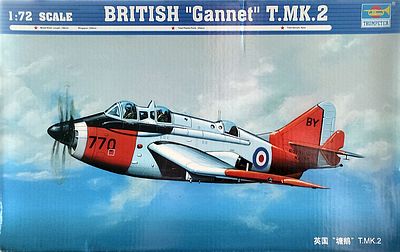
When the Trumpeter Gannets first appeared in 2006 they attracted a lot of criticism for detail inaccuracies, particularly alongside the apparently superb Revell kit that appeared shortly after. To be fair, they do look like a kit that has been designed by someone who has some good photographs of a Gannet, but perhaps hasn't actually seen one ! Whilst Revell is probably the way to go for the 1/72 "Gannet detail geek", much of the Trumpeter criticism has softened over the years. Both kits seem to have issues with their rear underfuselage (T's too thin, R's too flat and thick). However, for most of us, the issues are unlikely to be noticeable and I suspect it boils down to whether you prefer ease of building (T), or complexity & detail (R), or perhaps like me, you already have one or another (or both) in the stash.
The Trumpeter kit is relatively easy to build, with some excellent mould engineering and whilst they may not have the most detailed of cockpits, there is more than enough detail for 1/72 scale. We do, of course, have the infamous Trumpeter recessed rivets, although really very few of them, possibly too few; Gannets may be chunky and ugly, but they are not covered in deep empty rivet holes, although they do definitely have some very obvious rivets! The dropped flaps also attract criticism (of both manufacturers) since they definitely should not be deployed when parked.
The sturdy box is much appreciated as a build-
Part 1
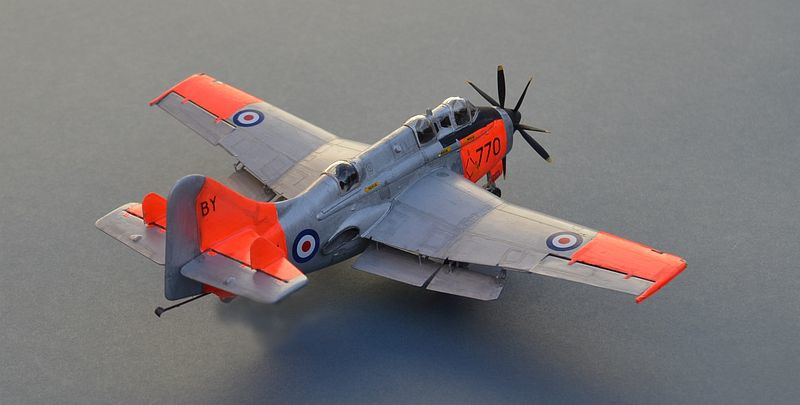
Unfortunately, the deployed flaps have some issues with very prominent mould ejector tower indentations on their upper surface. These required some careful sanding of the already thin parts to remove them, as they would be very noticeable on the finished model. Unfortunately there ar ealso some ejectror indentations on the underside of the upper wings, that I didnt spot until later in the assembly. Fixing the flaps into position is a delicate task and one where gravity is not your friend; I fixed one actuator/hinge end at a time, using relatively fast sticking liquid glue, letting it set, then moving to the other end. Unfortunately I did break one off during painting, which provend difficult to realign.
The undercarriage assembly on this kit is a lot better than that of last month's Sword Gannet kit, although I did find that the main gear struts needed some very careful trimming to get them to fit the main leg. As with last month, the gear doors provided some welcome strengthening! Note that for this type of Gannet (as opposed to the AEW.3), the large nose doors should be closed if the aircraft is moving/landing/taking off, although they can be open when at rest on the ground.Of course, the kit is a determined tial sitter, and as is my preference, I applied a small prop under the fuselage to hold it up.
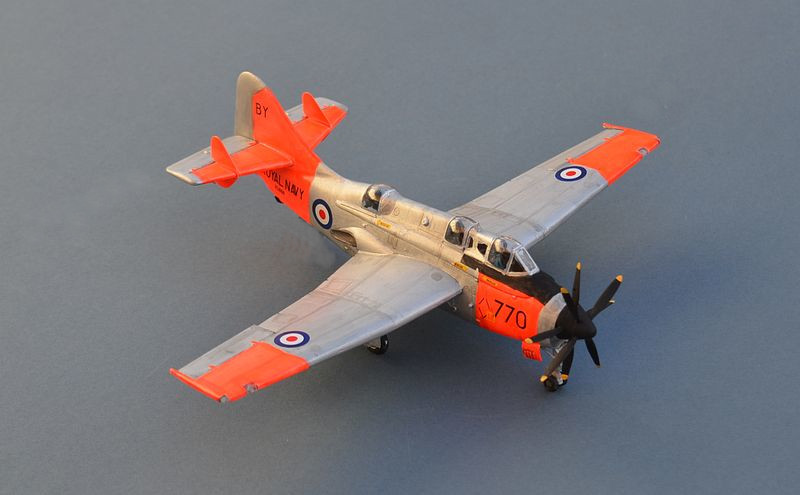
Canopy fit was disappointing. Given that you can't actually pose the canopies open, one wonders why Trumpeter chose to do the canopy in 5 separate parts. The rear canopy had gaps at both ends and a rather ragged lower surface. Krystal Klear was used to fill the gaps. For the main canopy, I would normally do this type by starting at one end and ensuring all parts fit together tightly, but Trumpeter have given us a centre section with tabs to ensure it is in the right position. Or not, as it happens; mine could have done with being nearly a millimetre further forward. As it was, I had to sand down the after section, then fill gaps in the forward one. The canopies have a nasty mould ridge running down th ecentre. Given their fragility and fit issues, I opted not to try and sand this off. All in all, the end result looks messy and I have seen several other builds on the internet that have much the same issue or worse, so it's not just me! By contrast, the landing light transparencies went into their position very snugly. I applied them quite early in the build, because I thought I would have to sand them to profile, but in the end this was not needed.
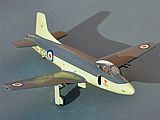
Painting an overall "silver" aircraft is always a challenge for the brush painter.
The Gannet trainer was coated in an overall aluminium anti-
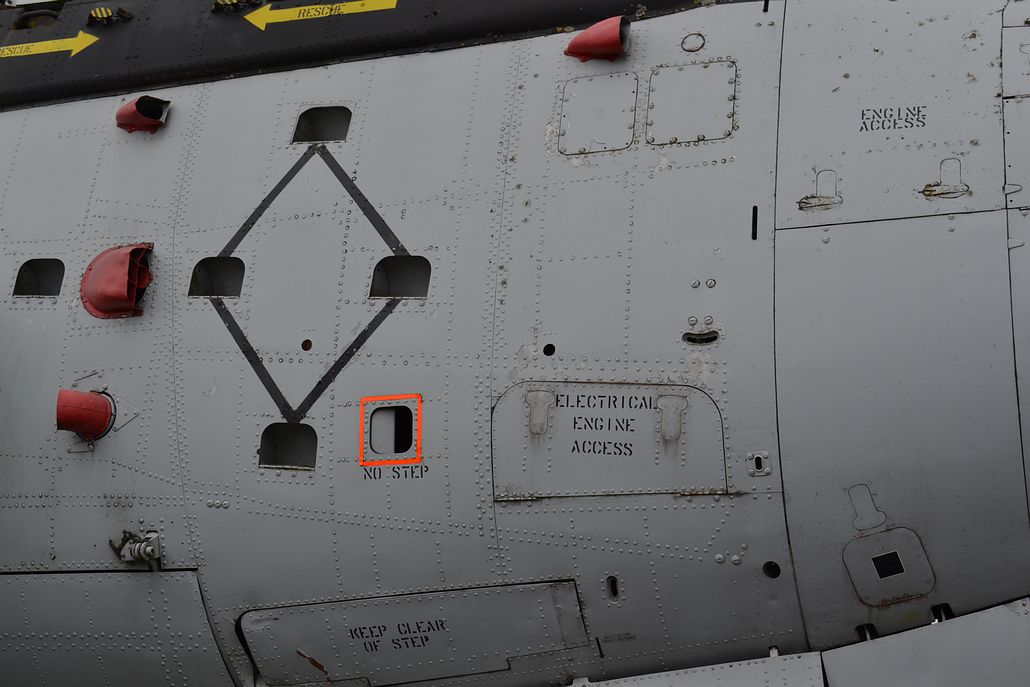
As with last month’s AEW.3 kit, a close check of reference photos (such as the excellent Thunder and Lightnings website) is essential.
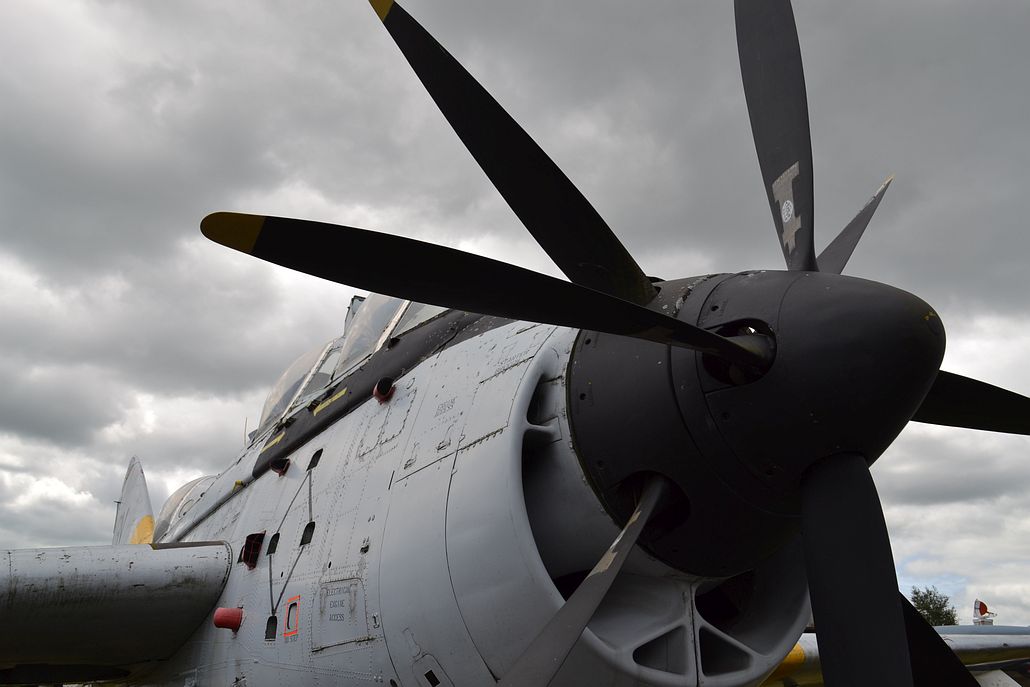
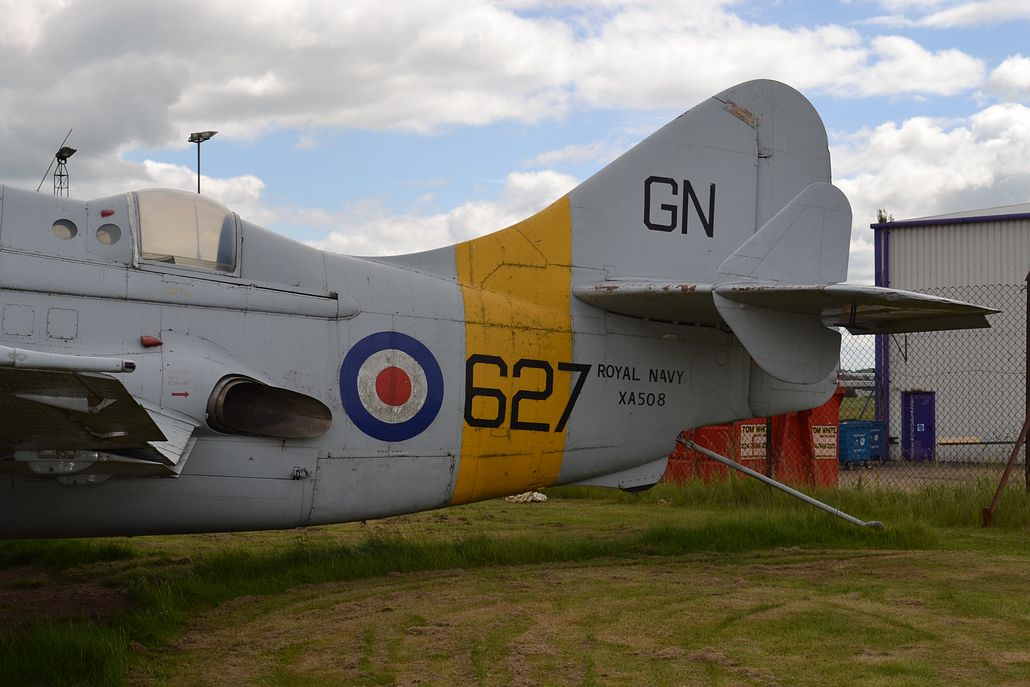
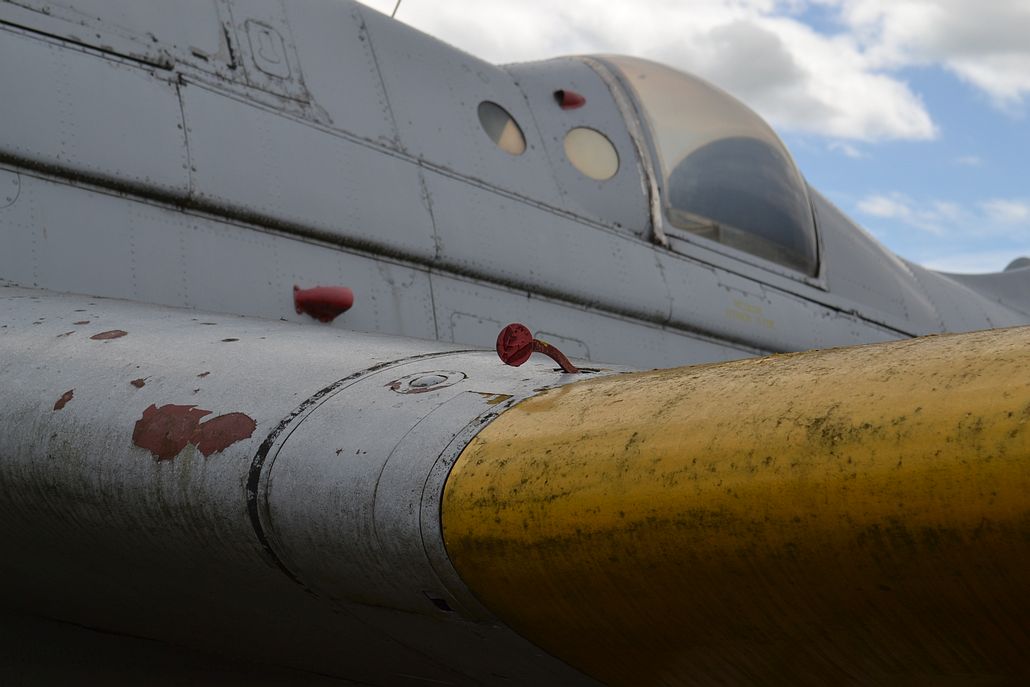
Below: Only one Trainer Gannet exists in the UK, with Gannet T.2 XA508 (the first production T.2) on display at the Midland Air Museum.
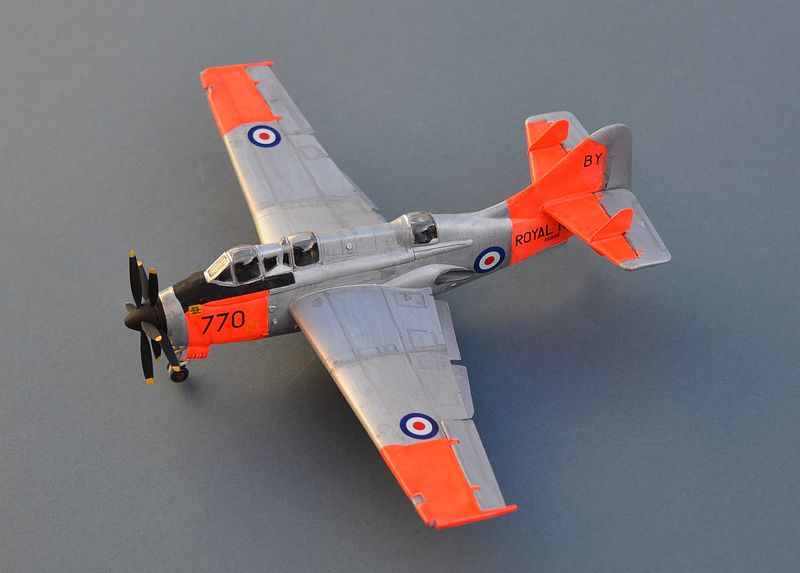
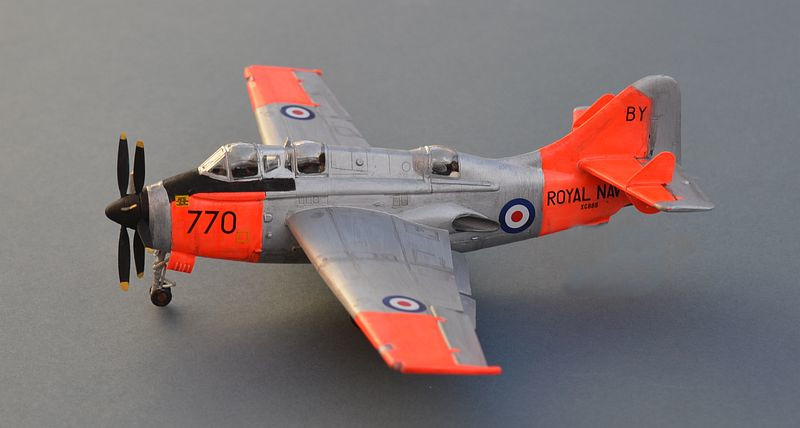
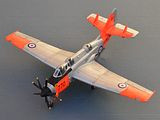
Decals cover three options, a silver and dayglo aircraft from 849 Sqn at RNAS Brawdy
in 1969, a silver and yellow one from the Empire Test Pilot School in 1958 and a
German Navy trainer from MFG-
Although it is not listed in the instructions, they also provide for a 4th option, a silver and yellow RN aircraft (similar to the ETPS example). If you decide to do this last one, pictures are easily found on the internet by searching on its serial number.
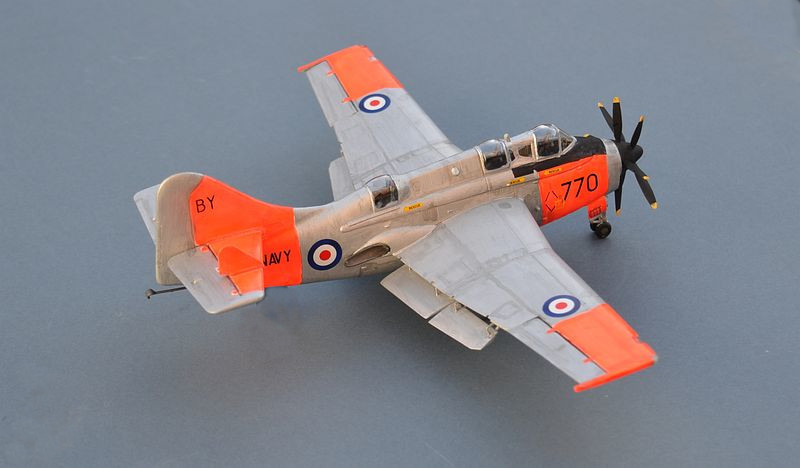
So the choice is silver, silver, or silver...... The decals did cause me a few problems, although I don't think the decals themselves were at fault, but rather the paint. The dayglo really didn't want to take a coat of Klear floor polish and when the decals were attached to it, they stuck very strongly in the first place they touched ! As a result, I broke one of the Royal Navy titles while trying to move it into position, although sourcing a replacement from the spares box was easy.
Although Trumpeter claim the aircraft to be a T.2, the airframe represented spent most of its life with the Royal Australian Navy, before being sold back to the RN and converted to a T.5. The T.5 configuration reflected the fit of the Gannet AS.4 rather than the AS.1 of the T.2. The main difference was a more powerful engine in the T.5.
In summary, this is a reasonable kit, but with a few pitfalls that can catch you unawares. The flaps are a nice idea, but not appropriate for a parked aircraft and are very delicate once fitted. The most difficult part of this build was painting, both getting a consistent silver coat and adding the dayglo panels.
Link to Website Index: ![]()
© www.gengriz.co.uk
Link to more Fleet Air Arm aircraft on my Flight Deck pages