December 2022
Avro Vulcan Black Buck
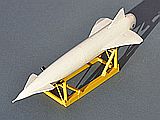
Avro Blue Steel
Link to Website Index: ![]()
Avro Type 698 Vulcan B.2
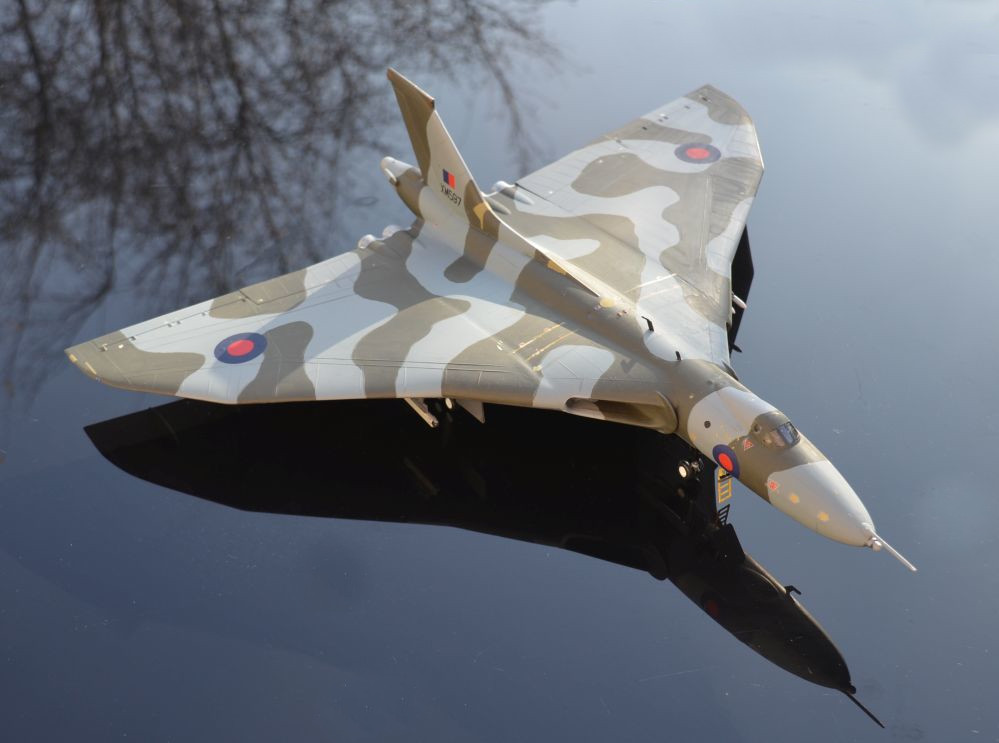
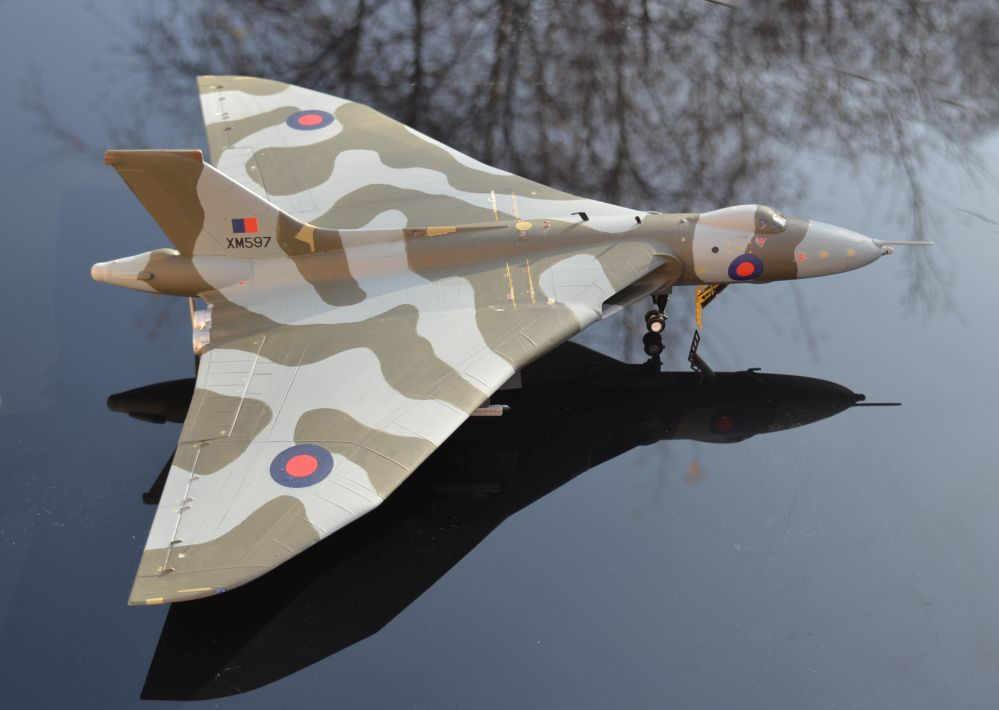
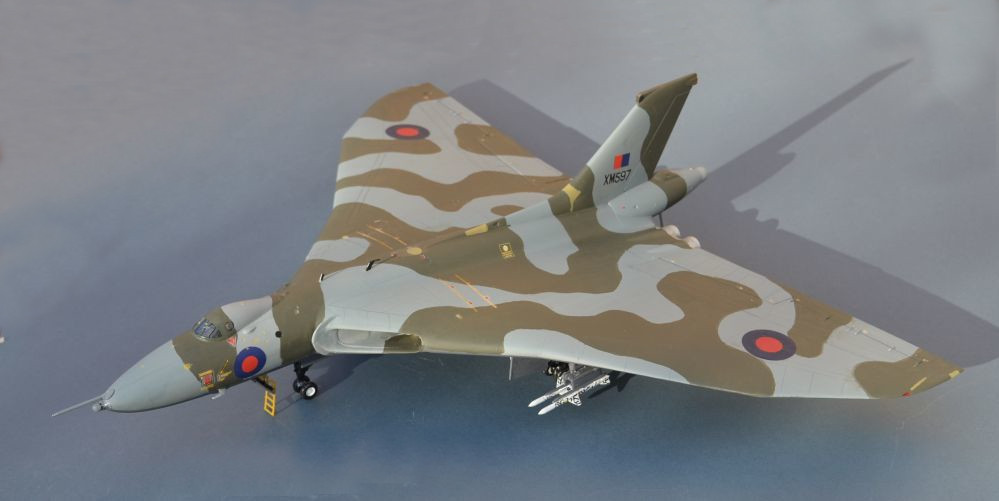
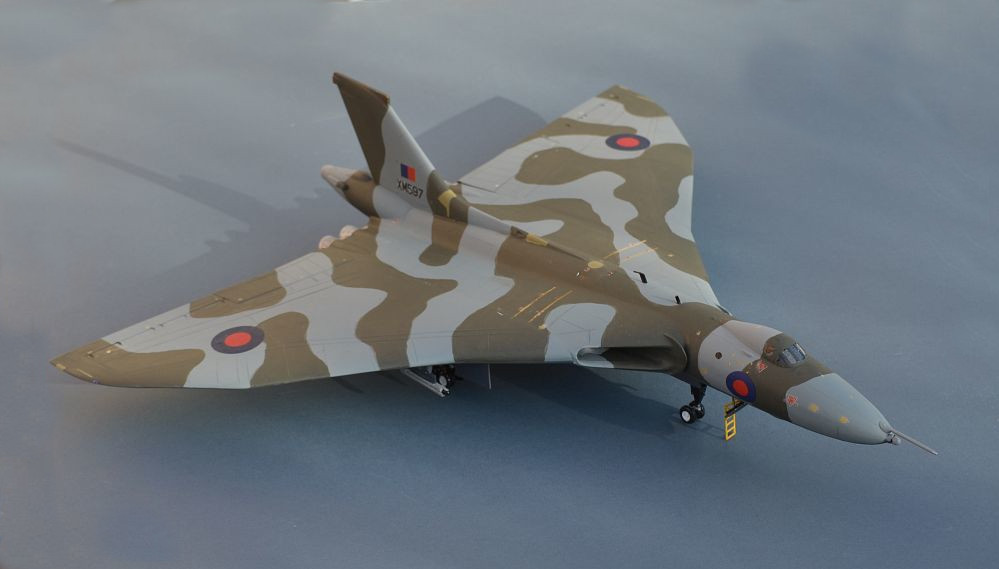
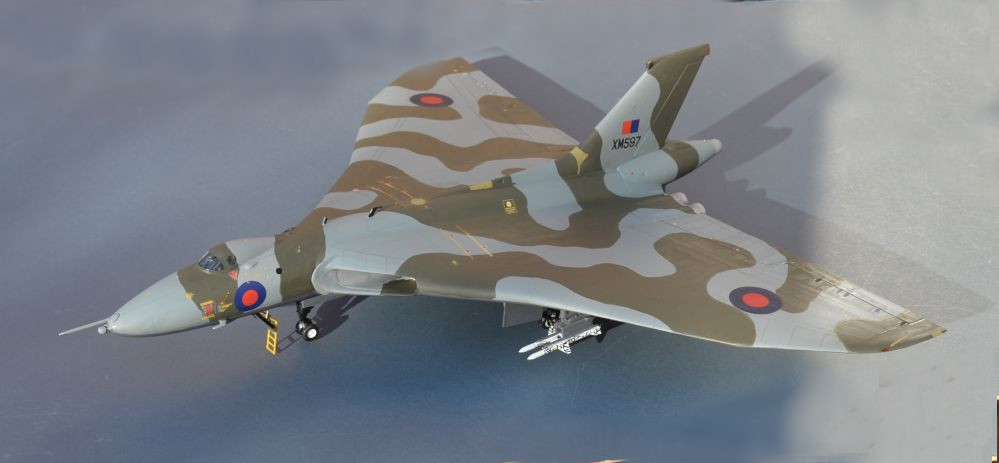
50 Sqn, Royal Air Force, Operation Black Buck 5.
Ascension Island / Falkland Islands, May 1982.
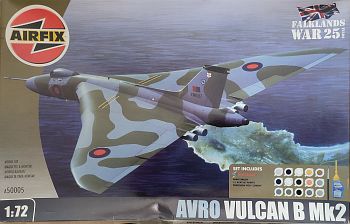
Airfix 1/72 (1983 mould)
Link to Website Index: ![]()
The Avro Vulcan entered service with the RAF in 1956 in the high altitude nuclear
bombing role alongside its V-
To try and restore capability, Vulcans (and Victors) were armed with the Blue Steel
stand-
The Vulcan's only combat missions took place during the 1982 Falklands War. Desperate
to prove their continued relevance in "out of area" operations (after all, the RN's
large carriers had explicitly been withdrawn because of the RAF's claimed "worldwide
reach"), the RAF mounted a series of remarkable long range conventional bombing and
anti-
Whilst undoubtedly demonstrating the outstanding skill, courage and organisation of the Vulcan and Victor crews and support staff involved, the Black Buck raids were of very limited military effectiveness and required enormous resources (which could arguably have been much better expended elsewhere). Only one of 21 bombs dropped in Black Buck 1 actually hit the Port Stanley runway and this was a better result than predicted. Almost every Victor tanker that the RAF possessed was needed to get just one aircraft over the islands and back.
Although it confirmed the UK's capability to reach the islands without an aircraft
carrier, the RN was required to fly very risky Sea Harrier CAP and BDA missions to
protect the bombers on their run-
For a gripping dramatised account of the Black Buck missions, I thoroughly recommend Rowland White’s book “Vulcan 607”. However, for a balanced view of the air war over the Falklands, you should read Rowland White’s “Harrier 809” as well.
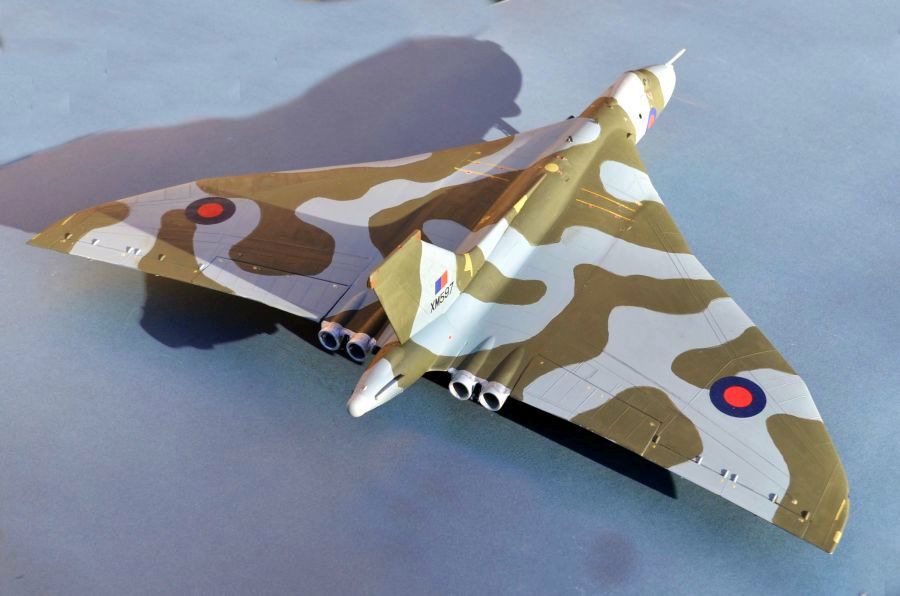
Building the (original) Airfix Vulcan Kit:
The original Airfix Vulcan kit first appeared in 1983, at a fairly dark time in the
 company's history. The kit is relatively simple in engineering with a minimalist
cockpit, raised panel lines (which are by no means the worst I have ever seen) and
some very crude chunky engineering in thick plastic. It also has two well known
and difficult to resolve issues -
company's history. The kit is relatively simple in engineering with a minimalist
cockpit, raised panel lines (which are by no means the worst I have ever seen) and
some very crude chunky engineering in thick plastic. It also has two well known
and difficult to resolve issues -
More recently, Airfix have issued a new mould kit with every detail you could wish and some exquisite moulding. But it is very expensive. And I already had two of these older ones in the stash (both purchased very cheaply in sales). One of them has been sold on to another modeller, but this one will receive my attention. I don't plan to do much beyond the basic kit contents although I would have bought some resin intakes and exhausts, but haven't been able to find any.
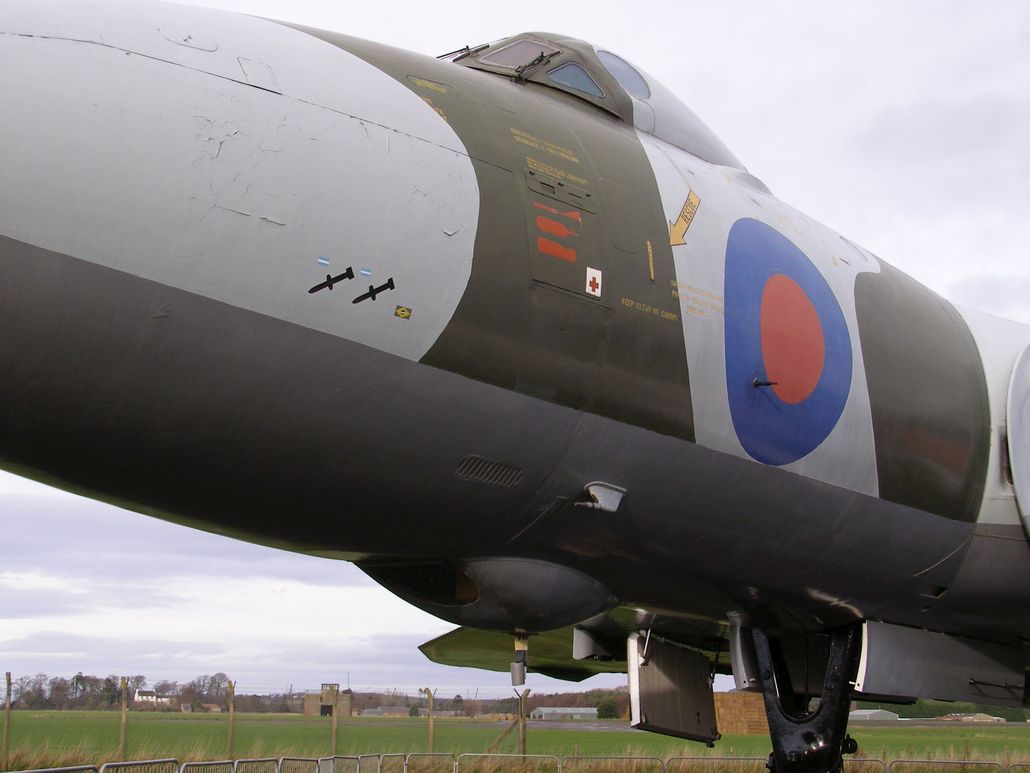
The kit provides decals for XM607 of 44 Sqn (Black Buck 1), XH562 (9 Sqn) from 1977,
and an anti-
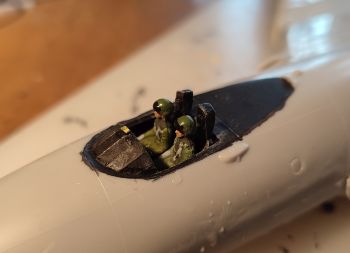
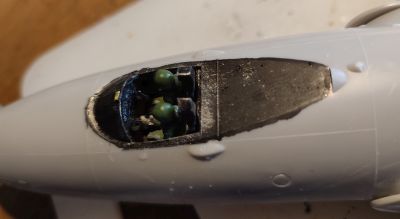
The kit is very basic, with an upper cockpit consisting of a panel, two seats, two yokes and two pilots. Actually, you can't see any of this once the canopy is on, but I added two side panels and a centre panel all made from sprue. Rather than leave it completely bare, I added the two figures, although they fill up almost the entire space (so you really can't see anything now) and some leg surgery was needed to fit them in. I also boxed in the area around the entry ladder using plastic card, so that I could leave it open.
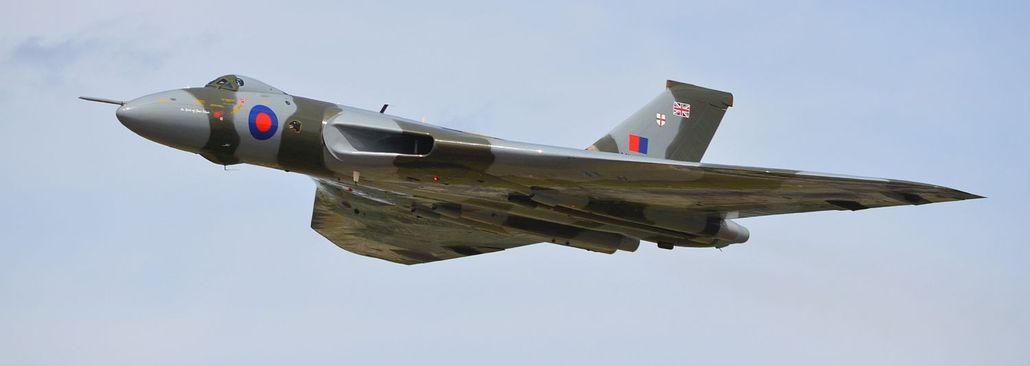
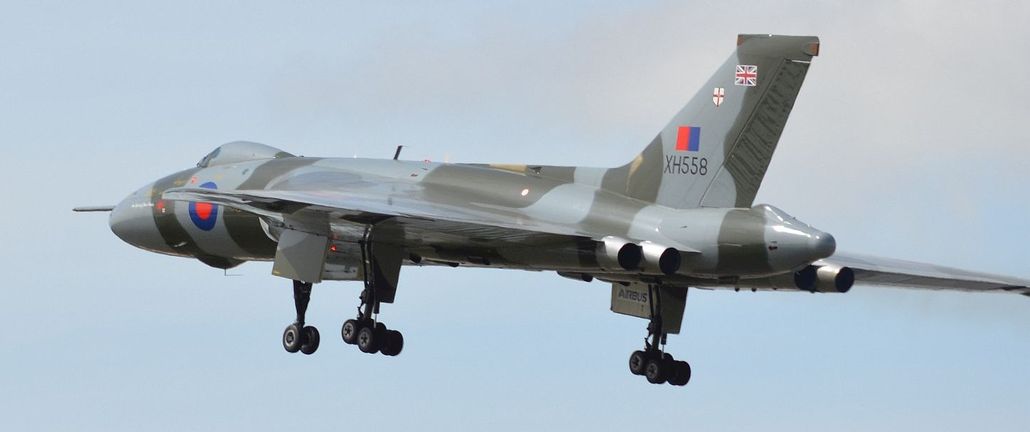
XH558 displaying at the RNAS Yeovilton Airshow

Although the Black Buck missions were completed without loss, it was clear that luck
had played too much of a role and that the claimed results were of marginal effectiveness.
The Vulcan's time was up and they were quietly withdrawn from front-
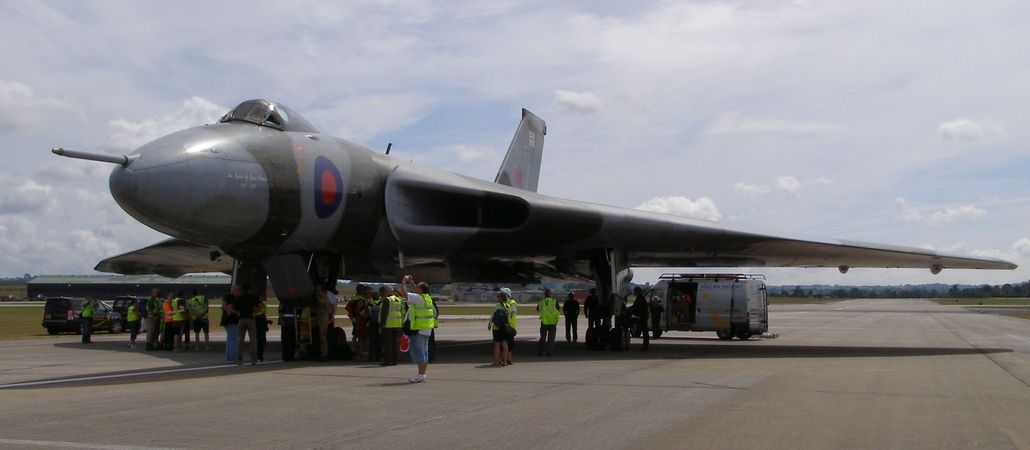
Vulcan XM597 is preserved at the Scottish National Museum of Flight at East Fortune.
It is one of only 2 Vulcans ever to see combat in nearly 60 years of service. This
particular aircraft flew the first Shrike anti-
The “Vulcan To The Sky Trust”, who formerly flew XH558 at UK airshows, have an excellent
account of Black Buck 6 and the ill-
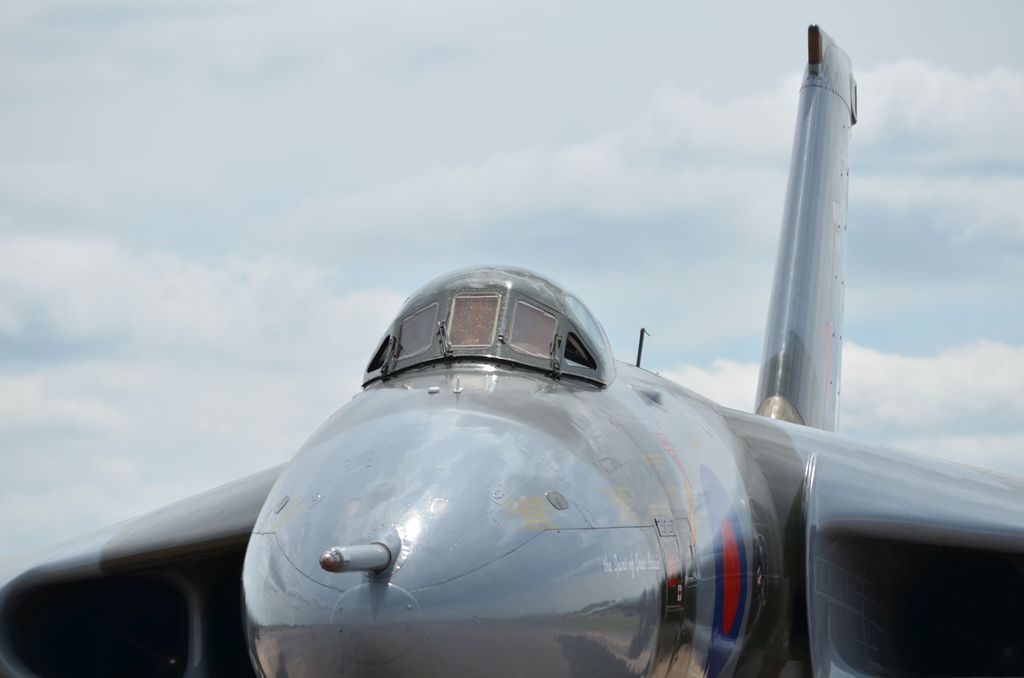
XH558 displaying at RIAT Fairford
XM597 on display at the Scottish Museum of Flight, East Lothian
The issues of the intakes are well documented, suffice to say I assembled them very carefully, ran some liquid glue down the seam to fill it and placed them into the fuselage. They are a very tight fit and this causes issues later when you try to join the top and bottom fuselage halves. I applied a lot of force to hold them in place whilst my liquid glue set, plus I removed one set of locating pins. I also accepted at this stage that filler and sanding would be unavoidable.
As normal, I used Tippex correction fluid as my filler. It worked well on the fuselage, but the wing joints are very difficult to get right, leaving variable gaps plus, most difficult to resolve, a noticeable change of wing surface at the joint. I wasn't entirely happy with how these turned out, and I would probably say this is the most difficult part of the kit to fix.
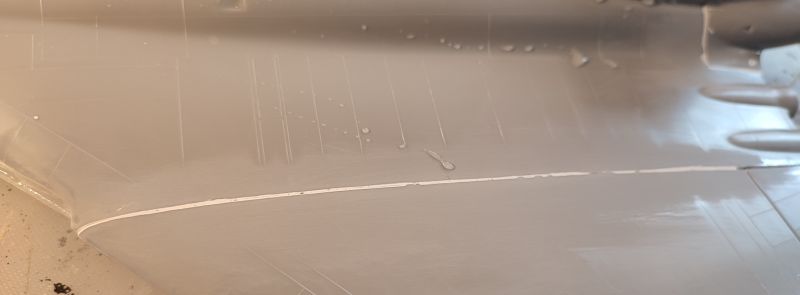
The wing joints after filling and sanding.
With most of the airframe complete, I decided it was time to paint the upper surface.
Given the size of the model and the current unavailability of tinned Humbrol 165
Mid Sea Grey enamel, I took a different route from my usual hand brushing, employing
a rattle can of spray Humbrol acrylic 165 instead. I don't normally airbrush or
spray anything -
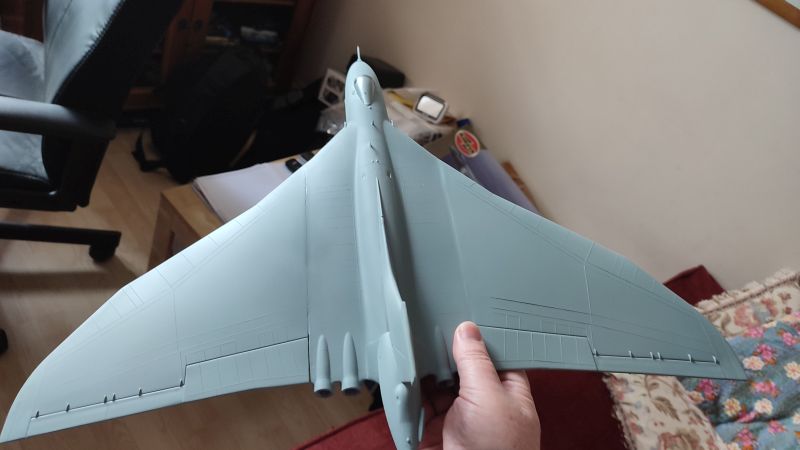
My first try with a spray “rattle can”. The finish is good, but the grey seems a little too green/blue.
The upper green camouflage was applied by hand-
The kit undercarriage goes together well and is really the only detailed part of
the kit. I stayed away from adding the recommended 30g of lead ballast in the nose,
preferring a simple prop to minimise load on the kit wheels. The kit comes with
the two improvised underwing pylons used to carry Shrike anti-
One of the biggest problems I found with this kit is how to handle it whilst painting the detail and applying decals. It is big and very heavy; whilst a bigger modelling space/desk would probably have helped me, it is not feasible to build the kit in sections and awkward to move around, although fortunately there are few protrusions to break off! As usual I left attaching the undercarriage wheels until last, as they can be vulnerable whilst handling. The kit also used an astonishing amount of paint (nearly half a tin for the undersides). I even feared that my precious 2nd last bottle of Klear might be exhausted as I coated the upper surfaces before decalling.
There is no doubt that the new Airfix kit is light years ahead of this one. But if you have one in the stash or if the new one is too much for you to pay, then this is still an enjoyable, if sometimes frustrating kit to build !
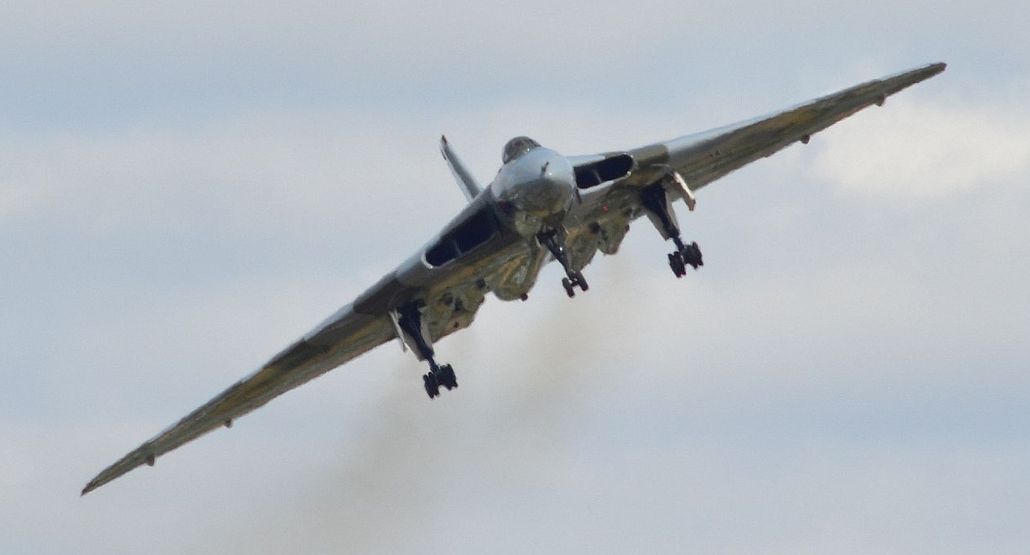
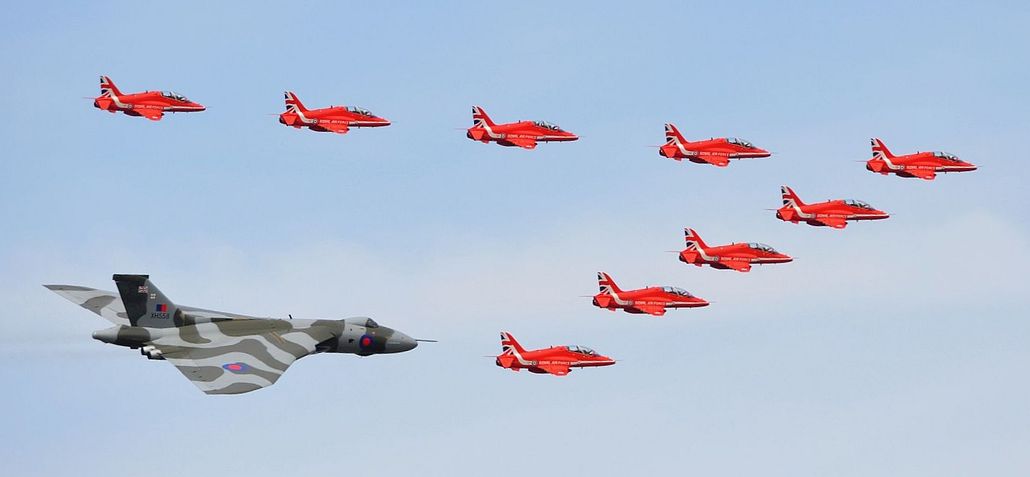
XH558 displaying at RIAT with the Red Arrows
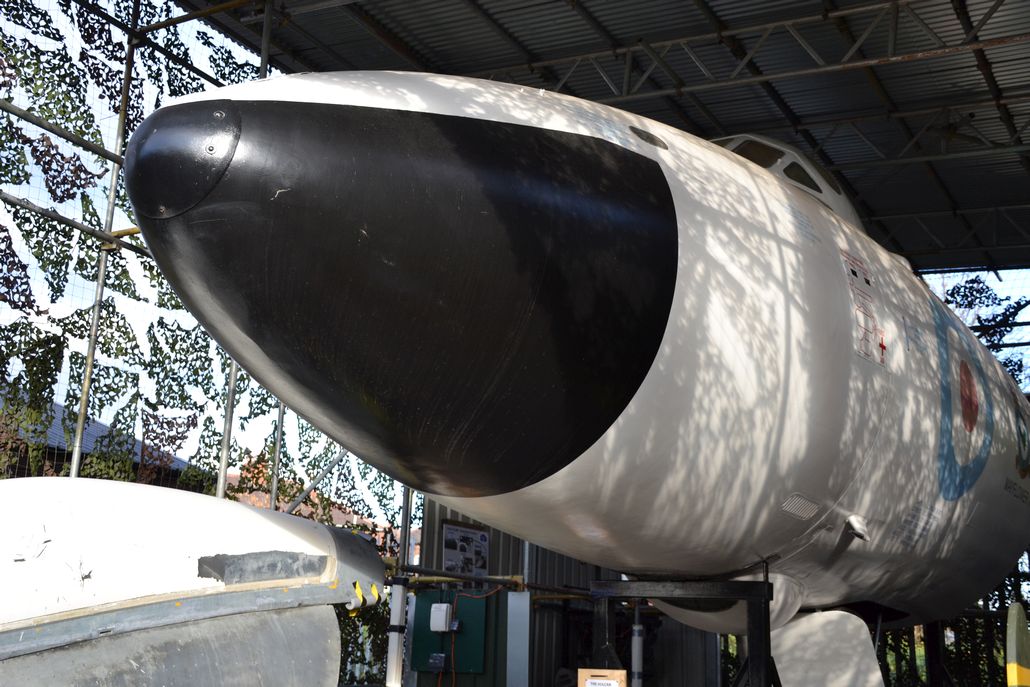
A Vulcan B1 nose section at Doncaster Aeroventure
Page and all photographs © 2022 www.gengriz.co.uk
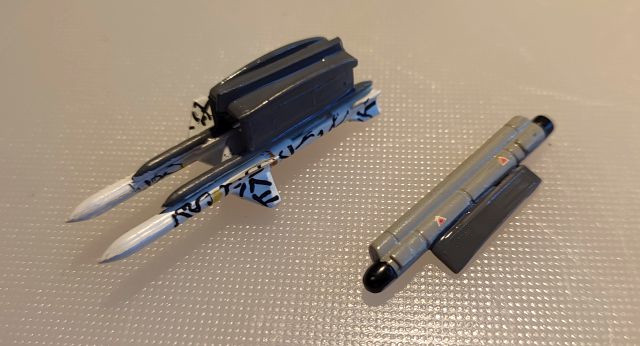
My take on the two weapons pylons.
The Shrikes and AN/ALQ-
More RAF models on my “Friends and Allies” Pages