June 2026
SAAB AJ-
SAAB SK-
Link to Website Index: ![]()
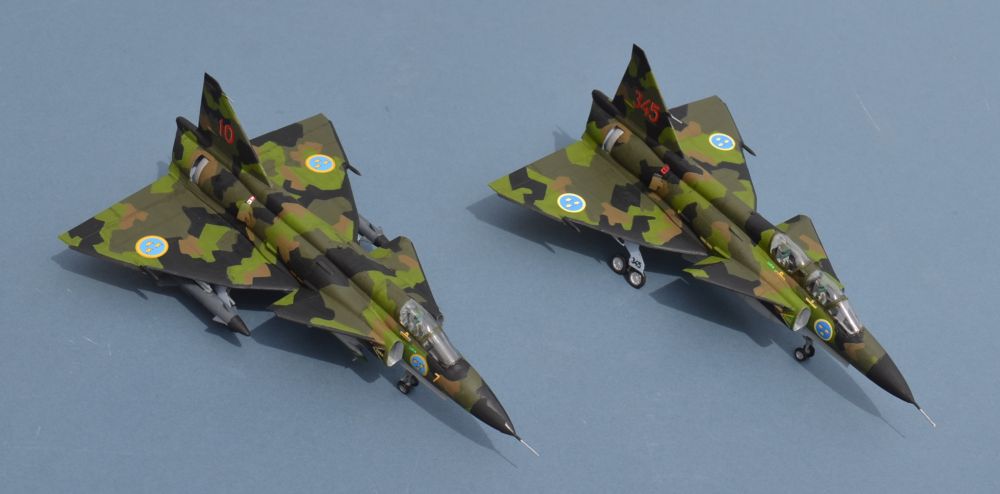
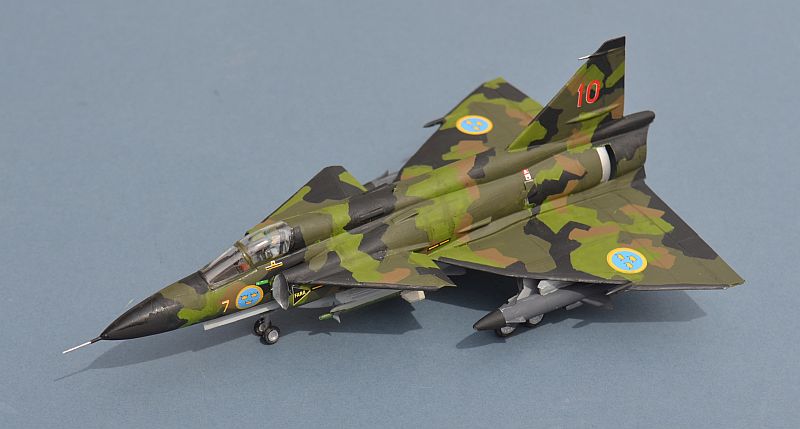
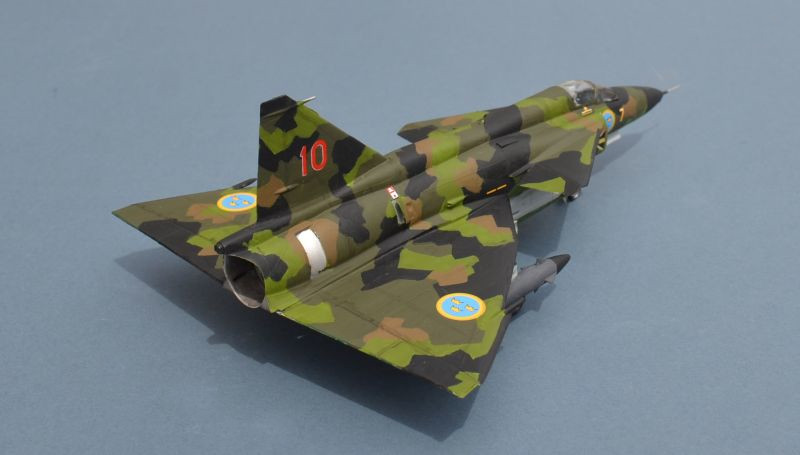
SAAB AJ-
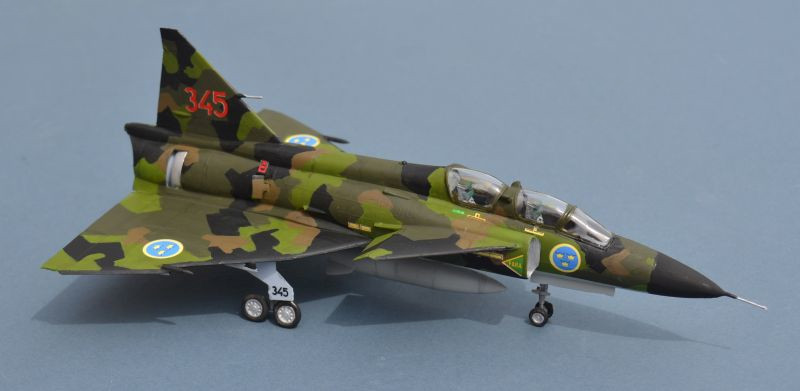
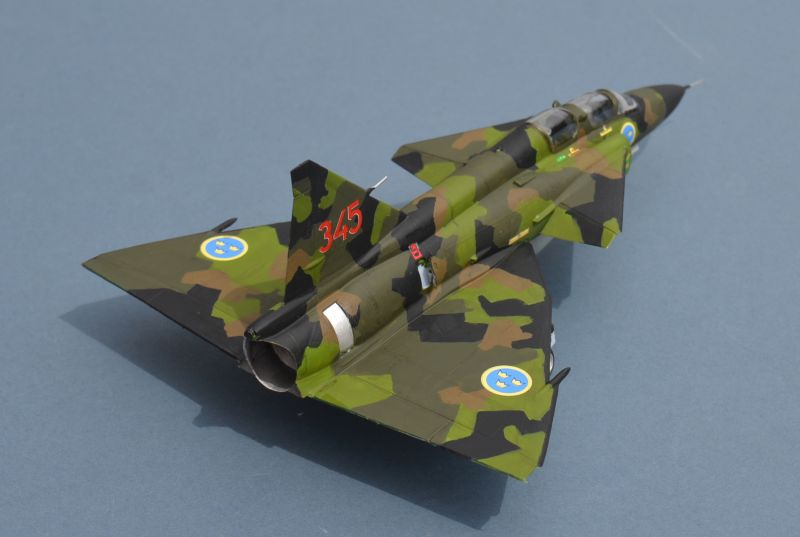
SAAB Sk-
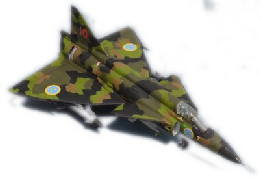
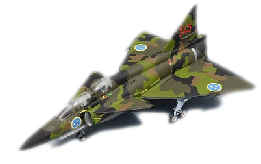
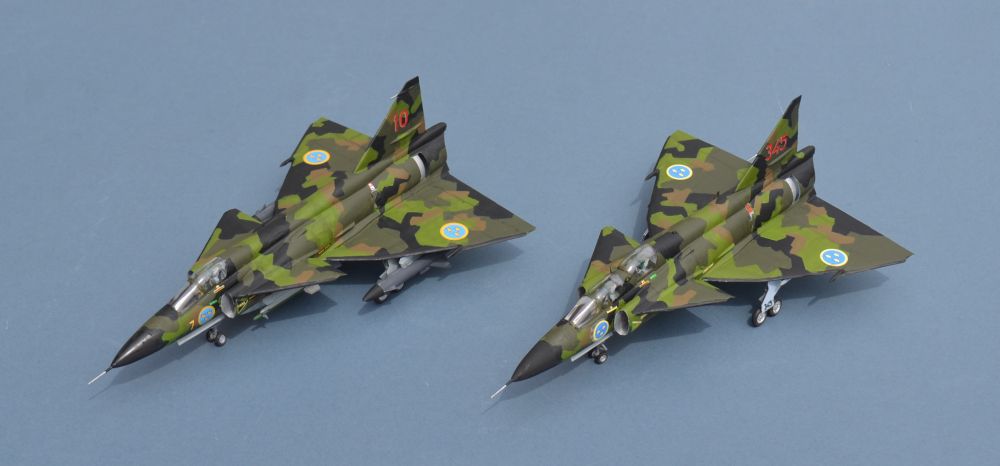
Flygflottilj 7, Skaraborg Wing, Såtenäs Air Base, 1980
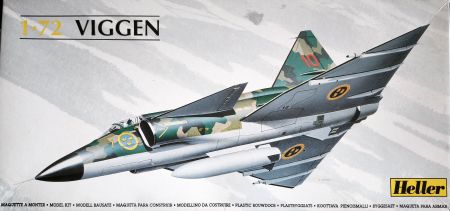
Heller 1/72
SAAB’s iconic canard-
Four main variants were produced, the AJ-
Viggens saw no export success, with the only real prospect (India) being blocked by the US (thus encouraging the Indians to buy British and Russian aircraft instead).
Building the Heller J-
One of my objectives in buying a 3d printer was to be able to access some of the ever increasing range of 3d enhancements for conventional kits.
This is my first attempt, using several 3d parts available for the Special Hobby
Viggens, but trying to squeeze them into a Heller kit (of which I have many!). I
started with the cockpit, printing out a specific set for an early AJ-
Fitting the cockpit wasn't a major issue, although I had to change the Heller build sequence slightly, attaching the fuselage spine (there are 2, for the single and double seater variants) to one side in order to allow accurate placement of the cockpit floor and rear wall. I also raised it slightly. The side walls proved somewhat fragile and both broke, but luckily I had printed off several spares. Sadly the instrument panel (which looks very small) also broke and in any event looked as though it would be lost inside, so I reverted to Heller's plastic one.
Heller's Viggen kit, first issued in AJ-
This first one is a 1996 issue, the last time the kit was released as an AJ variant.
It features mostly good parts fit, with lightly raised panel lines and far eclipsed
the earlier FROG/Hasegawa and Airfix Viggen kits, which are both based on the two
early prototypes. Sensible mould engineering makes it an easy enough build with
no immediately obvious major pooh-
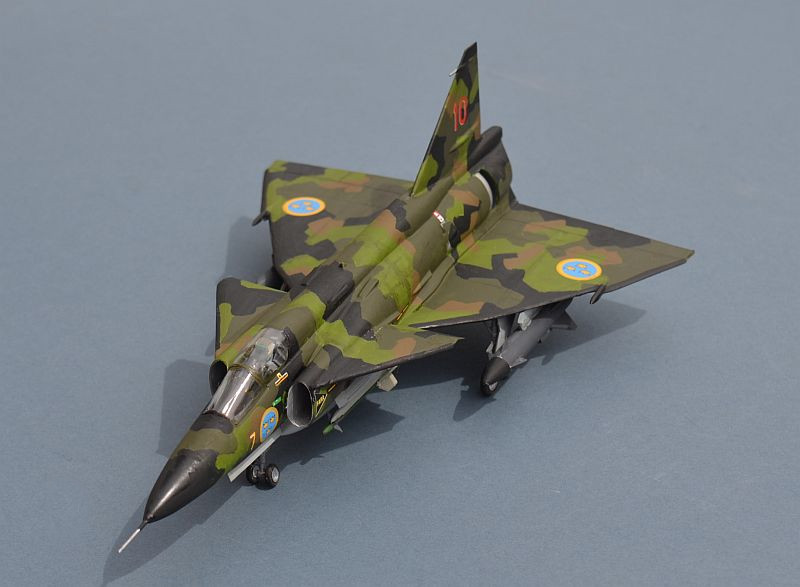
Since all of my Viggen pictures show the canards drooping when the aircraft is parked up, I scored their top surfaces and bent them downwards slightly before attaching. 3d printed flaps are available to show these lowered too, but my reference pictures all show them up, so I left these out.
The nose cone is a less accurate fit, but relatively easy to correct. Given the aft position of the main wheels, I am confident this will not be a tail sitter, so no weights were added.
Confirming my thoughts about a good fit, the delta main wings fitted well to the fuselage without any significant gap although they did need a little pressure and liquid glue to set them fully in place.
Having decided to do the AJ-
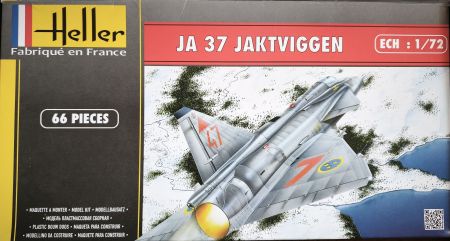
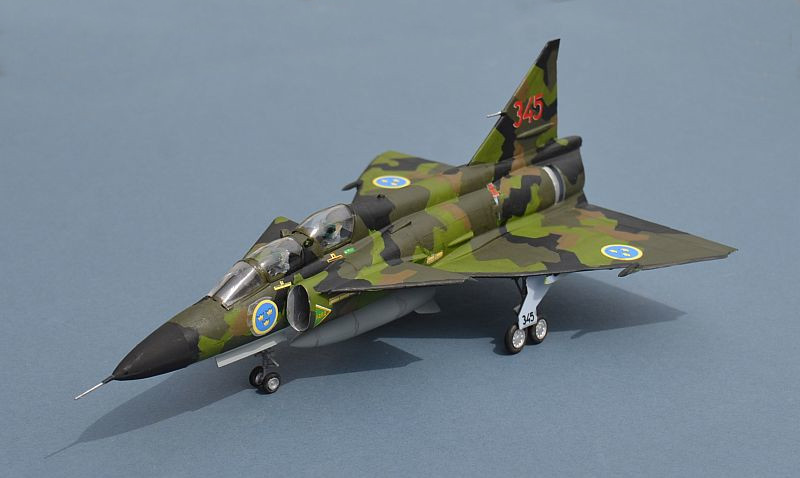
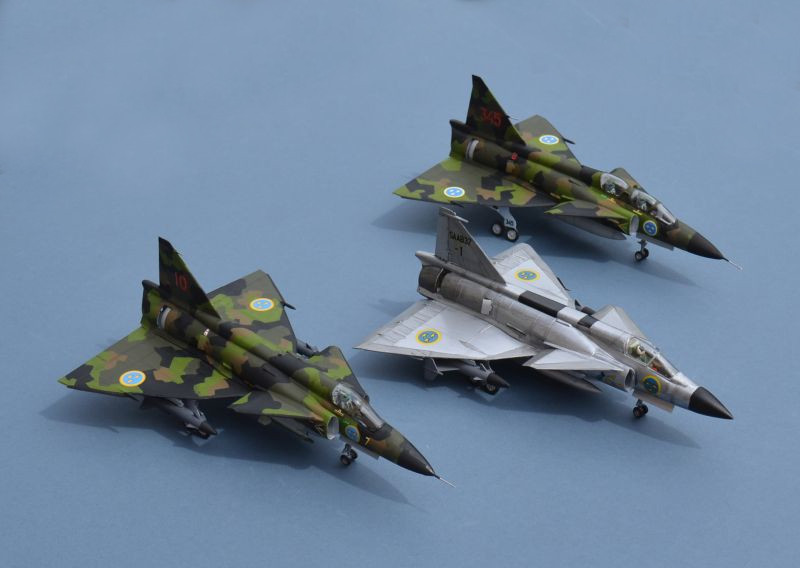
My second kit is a much more recent issue, from 2013. It is moulded in a lighter, softer and more fragile plastic and I have to say that the detail looks a lot softer and the fit doesn't seem as good, suggesting some mould wear. A second cockpit, shortened fuselage spine, bigger ventral fin and the taller main fin go to make up the SK changes (along with some minor additional detail.
I didn't use the 3d printed cockpit on this one (you can hardly see it), but did use the 3d printed Saab ejector seats.
Painting was, as expected, not the easiest job. As normal, I hand painted with enamels, using Humbrol H80 (Mid Green), H163 (RAF Green) and H29 (Dark earth) plus Revell 6 for the black. The underside was done in Humbrol 127 (Ghost Grey). A light oil wash of panel lines and a final coat of Acrylic (W&N) Matt varnish completed the paint job. My next 2 Viggens will be grey!!!!!).
Weapons came from a mixture of the kit's own (Sidewinders) and an RBS-
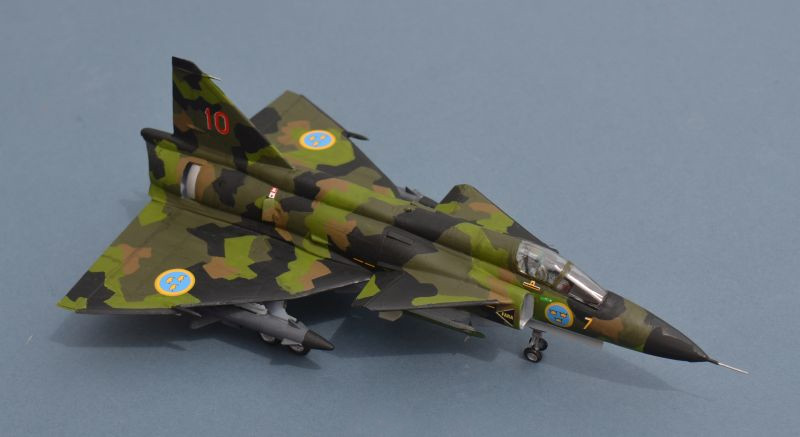

Sadly, the decals lived up to all of my dark preconceptions about Heller decals.
The colours were misaligned, details were fuzzy, they were very stiff and didn't
conform to the kit's surface, and they seemed to be seriously lacking in adhesive
to keep them attached after application. If this had been a more recently purchased
kit, I would have returned them for replacement, but in my experience, almost without
fail, Heller from that period (and Heller-
Doubly sad, given that their kits are generally good and the design of the decals
was good enough. And just to rub salt in the wound, because I only had splinter cammo
decals for one kit, I actually dug out some really ancient FROG Vampire decals (pre-
All in all, despite being quite a tricky build to paint and suffering ultimately the major disappointment of the bad decals, these were 2 satisfying builds.
However, it did show me once again that I am not good at building more than one kit at a time, so I will not be trying that again in a hurry !
Link to Website Index: ![]()
Text & Images © www.gengriz.co.uk (unless otherwise indicated)
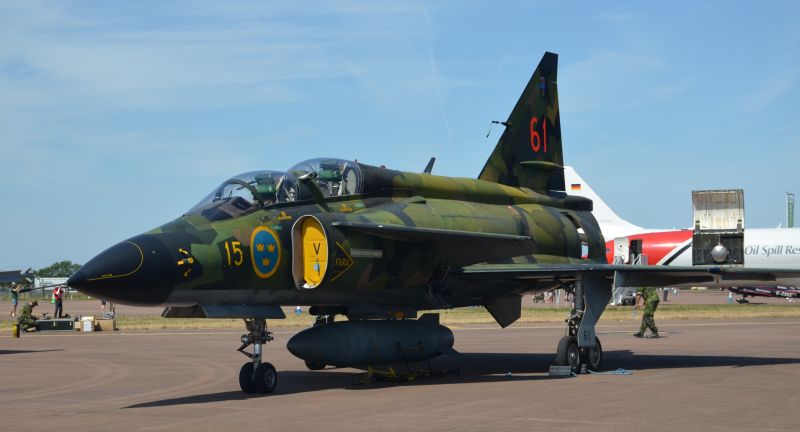
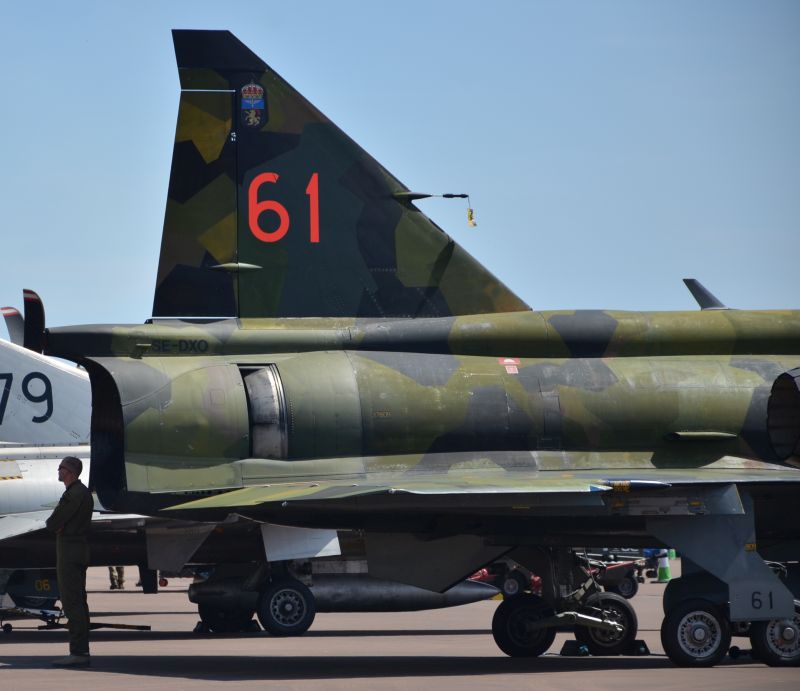
Background and below -
This is it at RIAT Fairford a few years back
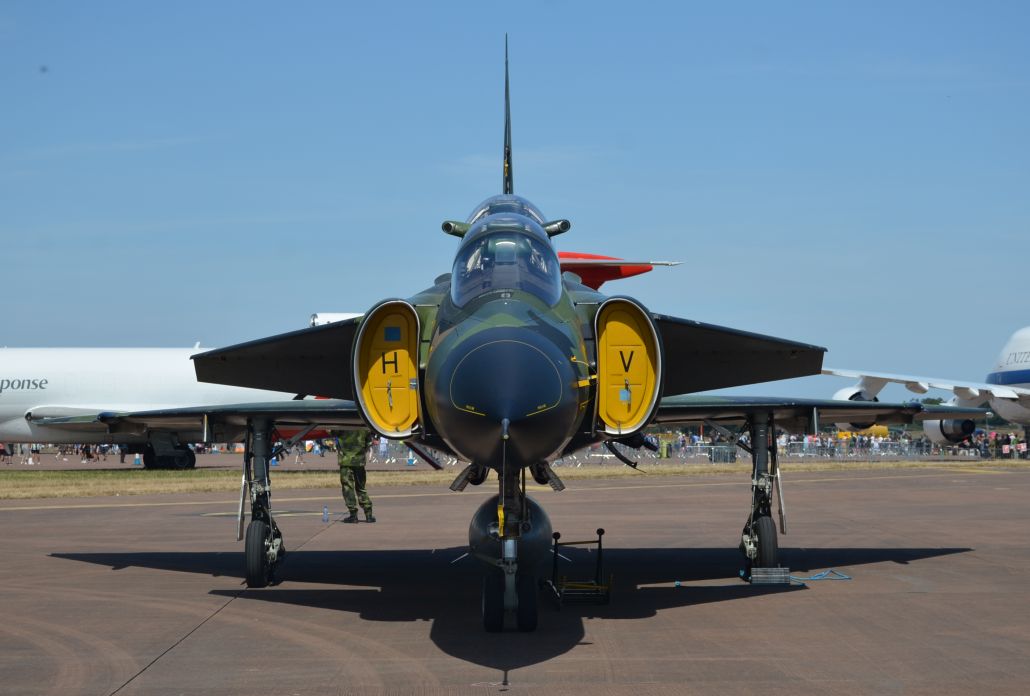
Below -
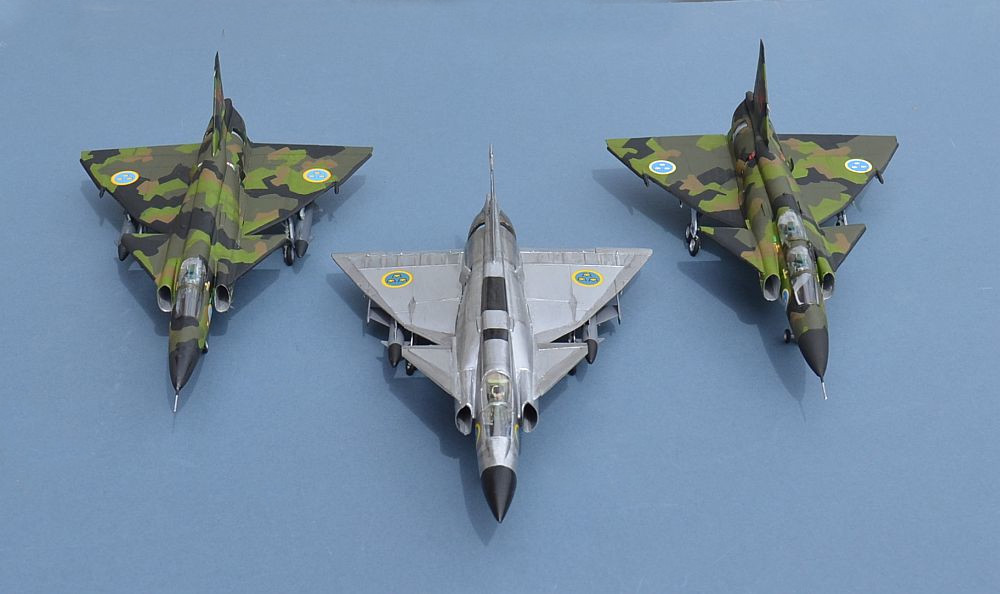

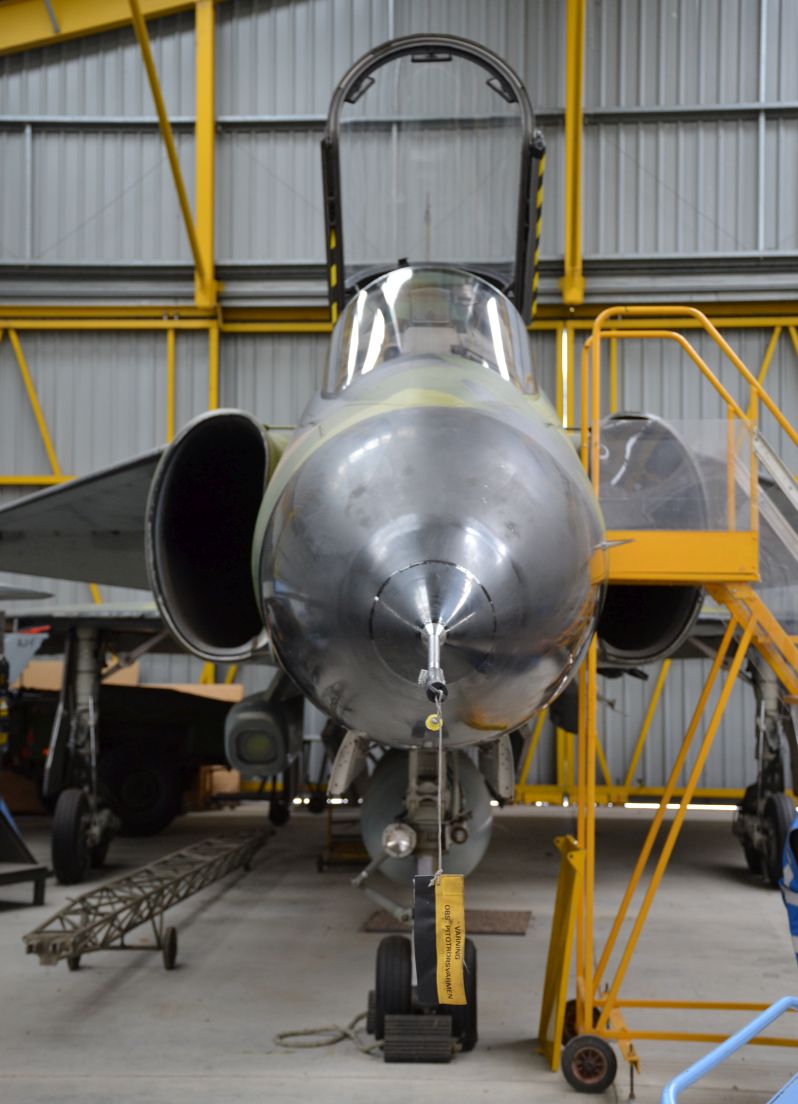
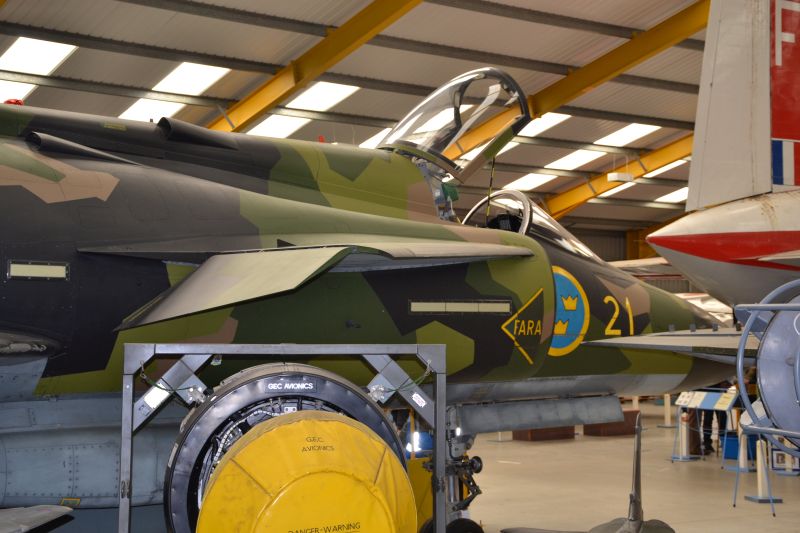
Below -


And with that, I think I’ve exhausted my Swedish theme (for now).
Many congratulations to the Swedish Air Force on the occasion of their 100th Anniversary!
Link to Website Index: ![]()
Text & Images © www.gengriz.co.uk (unless otherwise indicated)