August 2024 Part 1
Albatross D.V
Fokker D.VII
Link to Website Index: ![]()
Albatross D.V
JaSta 26, Imperial German Air Service (Luftstreitkrafte)
Flugplatz Abele, Izegem, Western Front, 1917
Eduard 1/72
Link to Website Index: ![]()
The Albatross D.V entered service with the Imperial German Air Service (Luftstreitkrafte) in May 1917 as a development of the earlier Albatross D.III. It proved to have few real improvements on the earlier aircraft and structural weaknesses with its lower wings earned it a poor reputation.
Nevertheless, despite this the Germans had little choice but to use it in large numbers (over 900 were built), although an improved variant, the D.Va managed to resolve some of the issues and saw a further 1,600 built, with many remaining in service until the Armistice in November 1918.
The aircraft depicted is thought to be that of Leutnant Franz Xaver Danhuber whilst he was serving with Jasta 26, based at Flugplatz Abele near Izegem, Western Flanders (not to be confused with the RFC airfield at Abeele, outside Ypres) , during 1917. Danhuber was credited with 11 victories.
Link to more German WW1 Aircraft on my “Other Side” pages
Building the Eduard Albatross Kit:
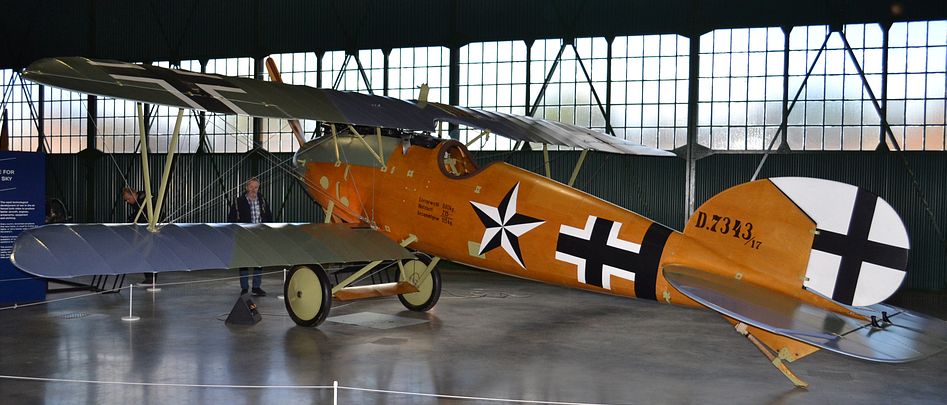
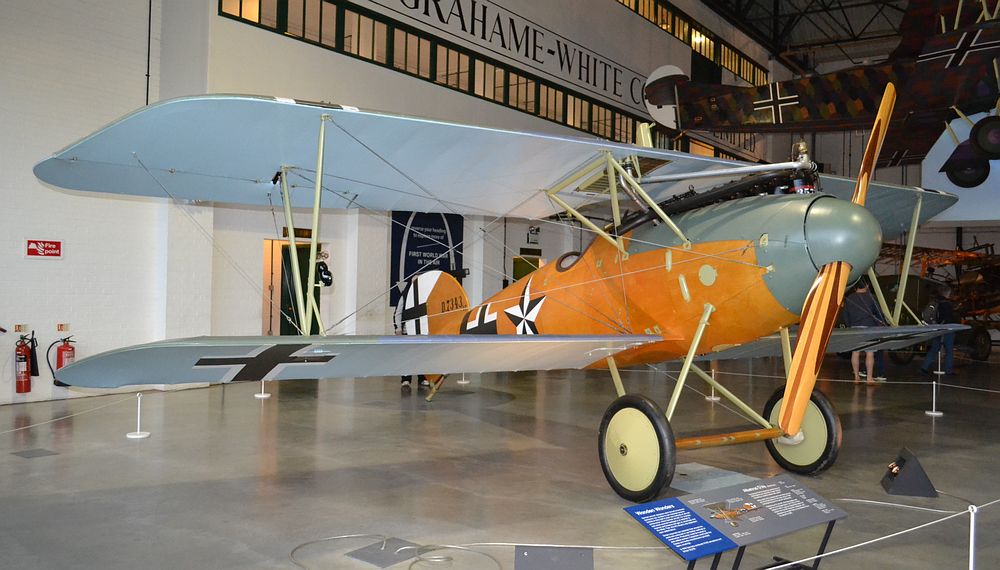
This build was inspired, as so many of mine are, by a recent trip to an aircraft
museum, in this instance, the RAF Museum at Hendon in North London. Here they have
a beautiful Albatross D.Va replica sat amongst many other major types of the First
World War. 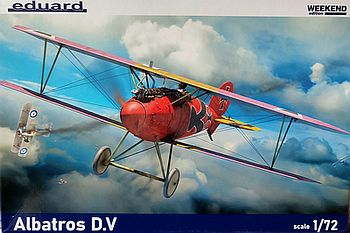
Over the last 2 decades, Eduard have steadily built their reputation as one of the
best smaller model manufacturers. Their range is a little limited, but what they
do produce is widely acclaimed as being amongst the best in class. Online reviews
tell me that this is one of their earlier moulds, dating back to about 1999. Nevertheless,
its single sprue contains very finely moulded parts, and its very large decal sheet
is truly superb, with no less than 4 colourful options (Eduard sell low cost decal-
Having decided I wanted to do a D.V, it was a choice between this and the ancient
Airfix kit, which is by no means bad, but really not in the same class. Price was
not cheap (but comparable to Airfix on e-
The kit is moulded in a mid grey and quite hard plastic, which requires very careful removal of some of the smaller and potentially brittle fine parts. The build sequence is very simple. On a small kit of this type, exact fit becomes less important, but more difficult for the kit manufacturer to achieve, and for this one, Eduard seem to have managed very well. The instructions follow the trend seen in recent Airfix kits of giving some guidance as to where the glue/cement/solvent should be applied, which is a nice touch that I appreciate.
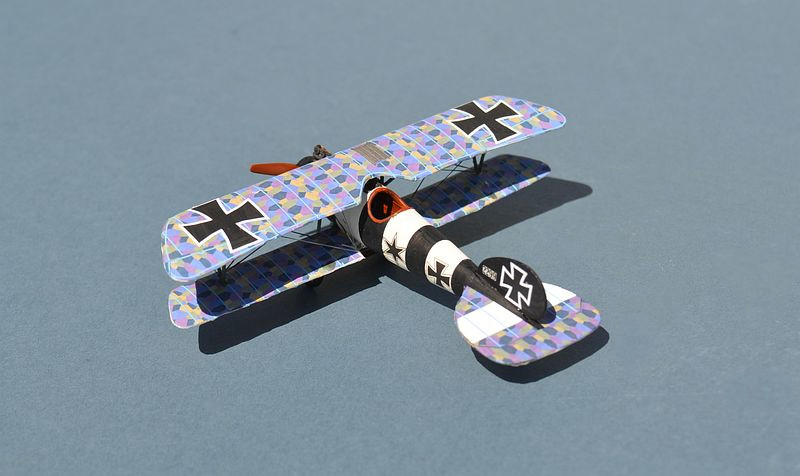
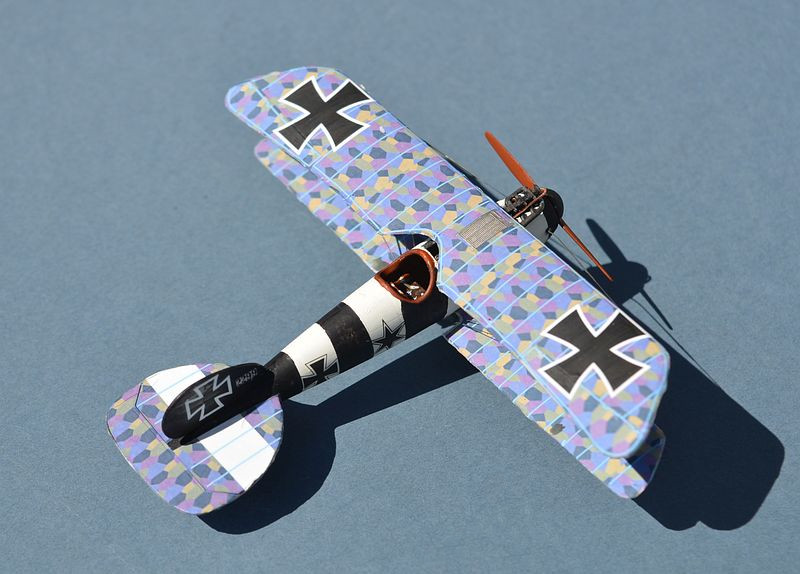
Having decided that I would use the final of the 4 kit decal options, a Jasta 7 aircraft
in Flugzeugstoff lozenge pattern on the wings, I had to think early about how and
when to paint and decal. The large wing decals would definitely need to be applied
before the wings were attached. This option also comes with some very fine rib stripes,
which would also be much easier to apply off the model. I also decided to add
the interplane struts at this stage -
Decals are nicely printed and applied fairly well, although they were a little too large for the wings and didn't seem to adhere very well, even though I used some Klear and decal softener to bed them in. Application of the many tiny wing stripes is a nightmare which should not be attempted unless you are feeling calm! I had applied a thin coat of white to the wing and tail surfaces (mainly because I felt uncomfortable applying the decals directly onto plastic) although I don't think this is strictly necessary. In the end, I needed to touch up some of the edges in a neutral light blue.
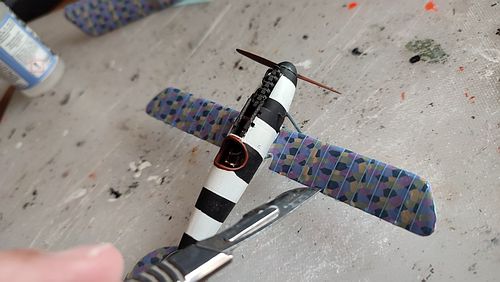
Application of the individual wing rib stripes requires patience and a steady hand.
Below: IWM Q 67439 -
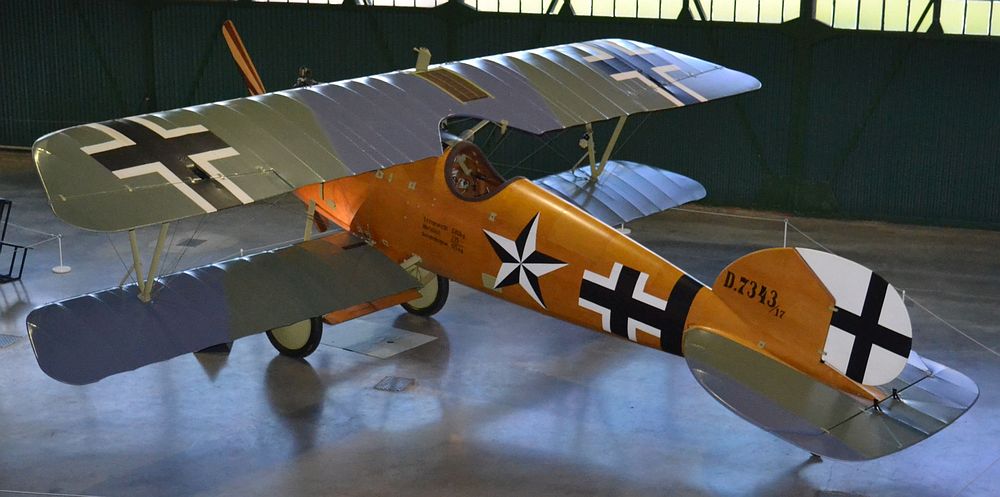
Below: The RAF Museum at Hendon has a beautiful replica Albatross D.Va (amongst many other rare aircraft)
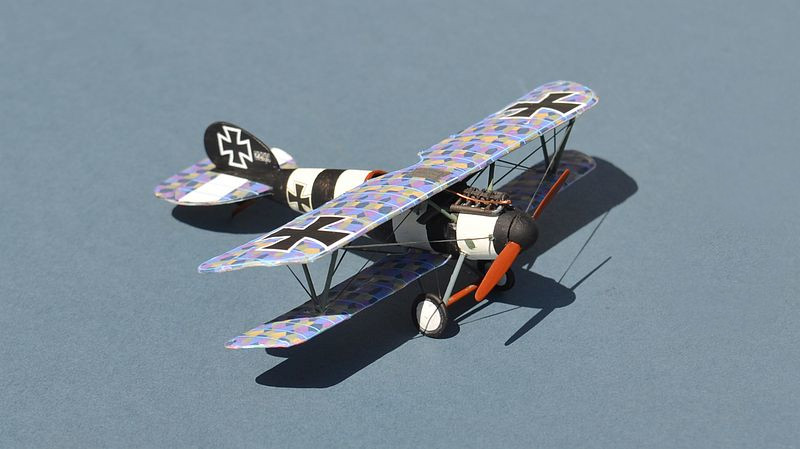
Parts fit is generally good, although I had some difficulty attaching the lower wings to the fuselage and keeping them square with the fuselage axis. I hacked away some extra plastic until they were flush, then left the kit with a couple of jigs in place to try and keep the wings and the tailplane straight and level. The kit is missing the prominent cooling pipe that leads from the upper wing radiator to the front of the engine, so this was added from some wire.
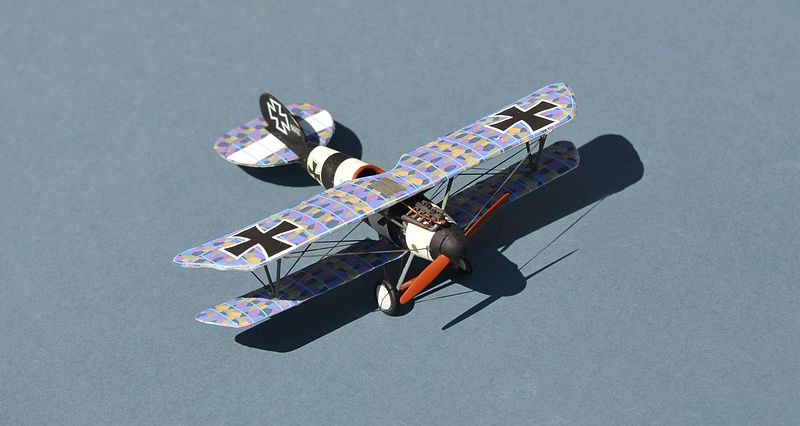
As you would expect from a (relatively) modern model of this standard, Eduard provide
a clear rigging diagram although the attachment point for the inner wires is not
entirely clear from the diagram and a check of a reference is recommended. Fortunately
it is a fairly straightforward rigging scheme and once again I have used my trusty
roll of Lycra knit-
This was a busy and frustrating little build, and certainly the most complex decal
scheme I have ever applied (even more so than the multitudinous stencils on the P-
As a relatively modern kit id mostly goes together well, but attaching those upper
wings is more difficult than expected, mainly because of the Albatross' v-
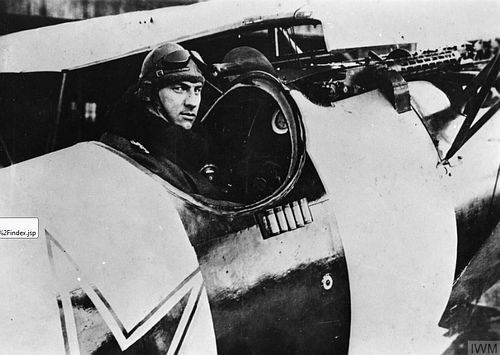


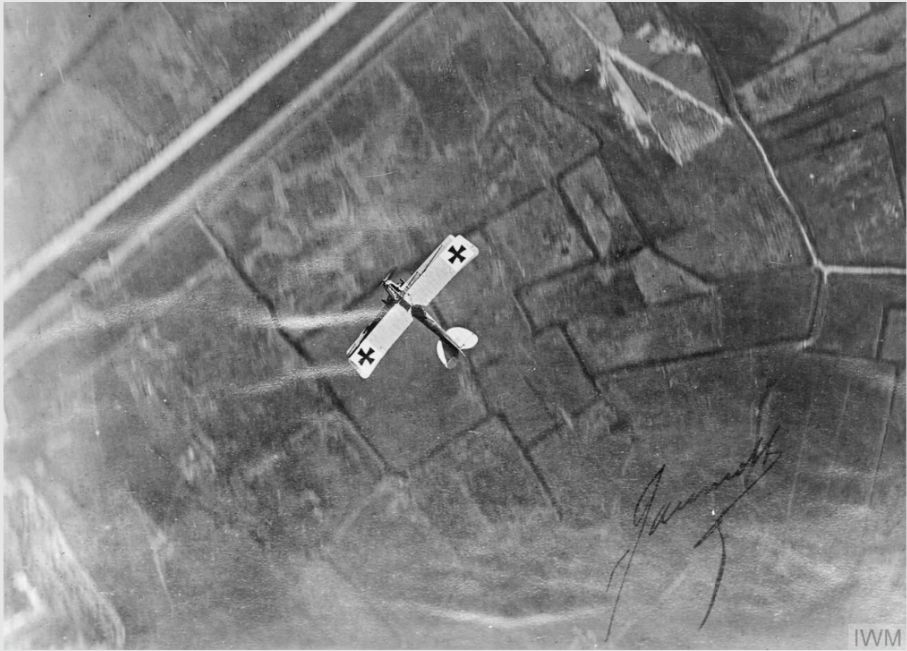
Above: © The rights holder (IWM Q 51909) An Albatross D.V flies over the front line at Ypres