
March 2020 - Part 2
Panavia Tornado GR.4
Link to Website Index: 
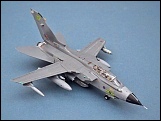
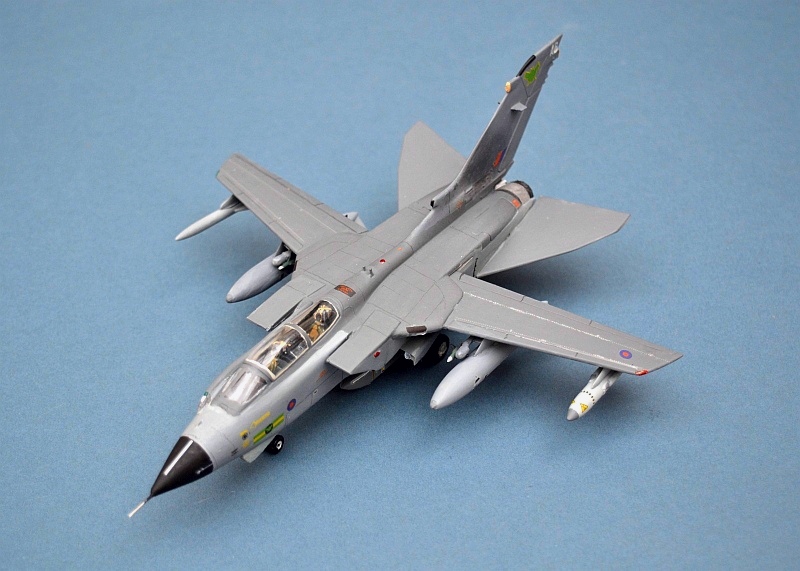
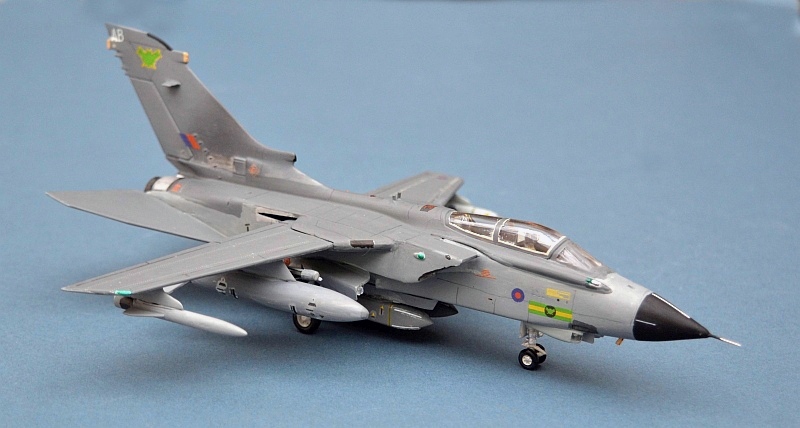
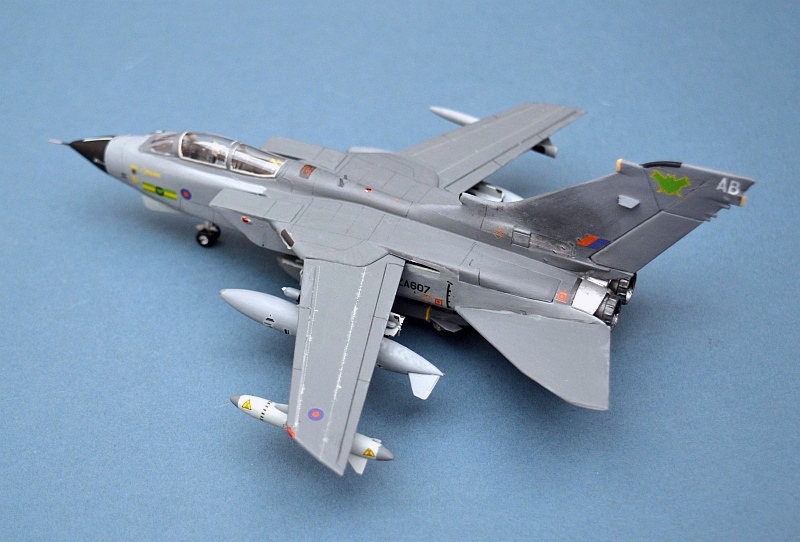
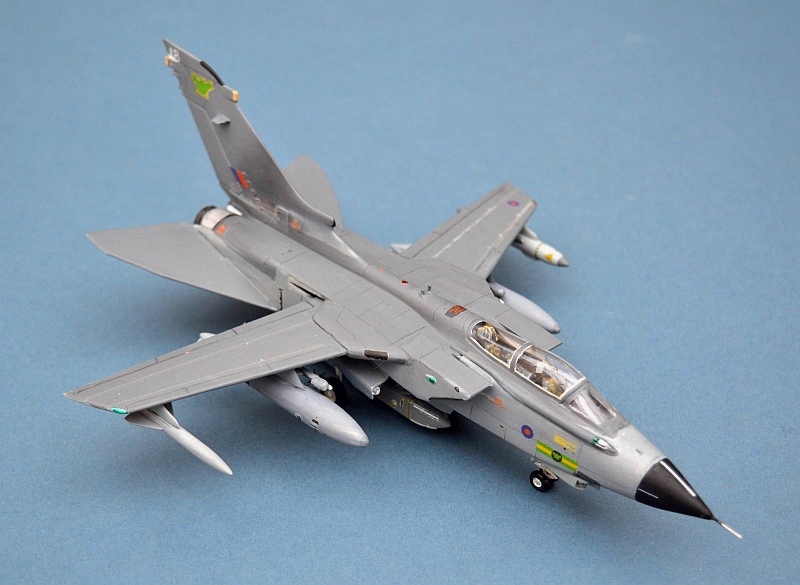
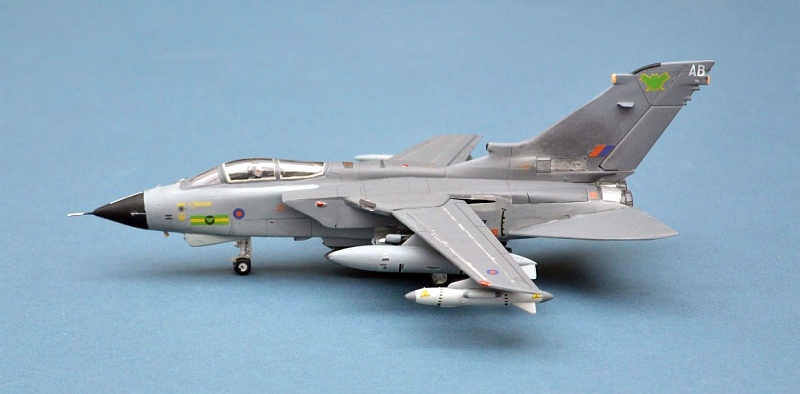
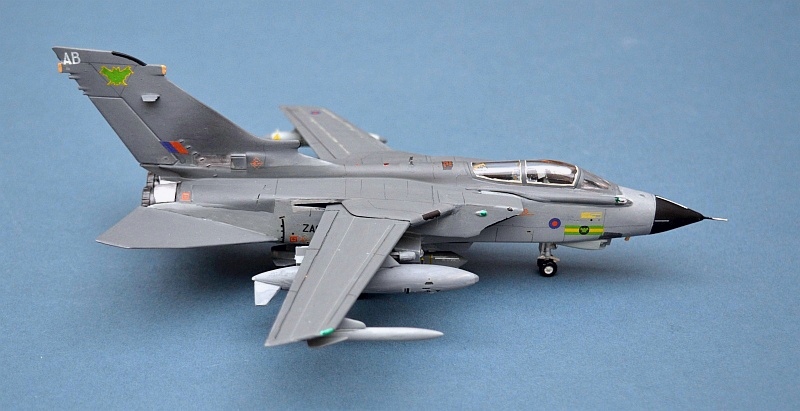
Panavia Tornado GR.4
IX(B) Sqn Royal Air Force, RAF Marham, Norfolk, 2004.
Airfix 1/72 GR.1 with aftermarket GR.4 conversion parts, Airfix markings and additional
fittings from the spares box

Link to Website Index:
Page content and all pictures © 2020 www.gengriz.co.uk
By any measure, the Panavia Tornado in all of its forms must rank amongst the most
successful RAF aircraft of all time. Flying for the first time in 1974, it entered
RAF service in 1979/80, continuing in a front line role for the next 39 years and
seeing almost constant operational use in the Balkans, Kuwait, Iraq, Afghanistan,
Libya and Syria from 1990 onward.
Developed by the tri-national Panavia consortium of Britain's BAe, Germany's MBB
and Italy's Aeritalia, it has also served with the Royal Saudi Air Force (RSAF) as
well as the three original nations. Reduced numbers of Italian, Saudi and German
Interdictor-Strike (IDS) and SEAD variants remain in service, but the final RAF Tornado
flight took place in April 2019. In the 1990s, German Tornados participated in NATO
operations over Bosnia, marking the first operation deployment of the Luftwaffe in
combat since WW2. Saudi Tornados are currently (2020) in active combat over Yemen.
Building and converting the Airfix GR.1 kit:
The Airfix "mud mover" Tornado kit has been around for a long time, first appearing
in 1975. It has also appeared in Heller and MPC boxes with different decals. The
kit is reputed to be based on the earlier 1975 Airfix MRCA kit, but I have both and
I'm not convinced. Nevertheless, it may have some sort of link or common origin in
the same way as the 1960s Airfix NA.39 and 1980s Buccaneer moulds did (their only
identical parts are the main gear doors). I don't think it has much in common with
the later Tornado F.3 kit either, which has a much nicer exterior but a totally empty
cockpit! In that sense, the GR.1 kit is roughly the same standard as the old ESCI
kit, but with a slightly better shaped nose and forward fuselage.
In 2004 it was re-issued as the GR.4/GR.4A variant with new decals and an updated
weapons/sensor sprue.
Mine was a 1886 issue that hails very much from the era of the Heller-Airfix tie-up
and shares many of the characteristics of this period, including some truly uninspiring
and useless decals for the RAF's TWCU Weapons conversion unit and a Luftwaffe WAKO
equivalent. I acquired it "eyes open" from a local charity shop, with the intent
of a cheap fast fun build, but when I saw the very poor decals I knew I had to try
something different. Unfortunately the only spare RAF decals in my stash are for
a 617 Sqn aircraft, which was already the subject of my previous ESCI build. I also
found some German Navy decals, but they looked equally uninspiring. Cue e-bay and
a very nice looking and reasonably priced set of Airfix GR.4 decals. So; GR.4 it
was!
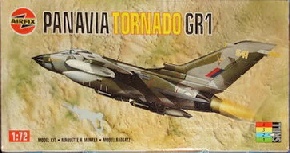
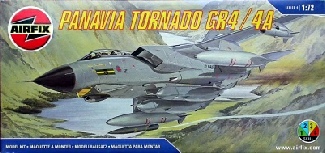
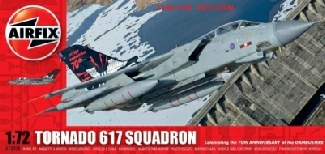
Below: The basic GR.1 kit has been issued in a variety of boxes, including the GR.4
variant, whose decals I used:
The Tornado was originally conceived as a variable geometry multi-role aircraft,
but with a focus on the key NATO low level penetrator mission, using sophisticated
ground mapping radar to find its target. Armed with a very heavy load of dumb-bombs,
specialist anti-airfield weapons and the ability to carry WE.177 (UK) or B61 (US,
provided by NATO for Germany & Italy) tactical nuclear weapons as any conflict progressed.
The RAF's GR.1B variant operated in the anti-shipping role with modified radar and
Sea Eagle missiles, whilst German Navy Tornados armed with Kormoran missiles also
fulfilled an anti shipping role in the Baltic and North Sea . A stretched version
with a different radar (the Ferranti AI.24 Foxhunter), optimised for long range air-to-air
interception was built for the RAF and the RSAF (as well as interim use by Italy).
Power for the Tornado comes from two Rolls Royce/Turbo Union RB199 afterburning
military turbofans, allowing it to fly at up to 1,300 Knts/Mach 2.2 at height and
800 Knts at sea level. Its normal combat operating range is is around 750 Nautical
Miles with the ability to ferry around 2,100 NM. Digital reconnaissance and targeting
pods can also be carried as well as anti radar missiles.
During the 1990-91 Gulf War, it became obvious that low level tactics over well defended
targets were excessively risky and Tornados switched to a medium level role, carrying
smart laser and GPS guided weapons as well as long range stand-off Cruise missiles
in the form of the MBDA Storm Shadow and Taurus KEPD 350. Drawing on the lessons
of the first Gulf War and these changing tactics, in 1994 the RAF commissioned a
number of updates to its Tornado GR.1 fleet, bringing all aircraft to a common GR.4
standard that included the ability to use more modern smart weapons (Paveway IV &
Brimstone), a new Forward looking Infra Red (FLIR) system (replacing the port 27mm
Mauser cannon), secure communications, GPS, a tactical datalink and advanced cockpit
avionics. Saudi, German and Italian Tornados have all seen similar updates.

Converting the kit was a relatively simple affair - I didn't want to go to town with
changes to the existing deficiencies and the only major external difference between
a GR.1 and GR.4 is the new IR pod under the port nose. For this I had intended to
simply scratch build the new parts from thick sprue, but instead I sourced some new
clear resin Laser Rangefinder and IR camera parts from AviaGraphics (I was actually
looking for something else for a future project). Internally, the cockpit received
a few added sprue and plastic card details to represent the different GR.4 instrumentation.
The rather strange ejector seats were also changed with sprue additions to look
a bit more like the real thing (as it stands they look more Russian than British!).
A metal (dressmakers pin) pitot was added to replace the vulnerable kit part.
As supplied, the kit comes with has a very basic (but impressive) pre-Gulf War dumb
bomb load, along with two crude Sky Shadow ECM pods and two generic fuel tanks that
are "a little bit like" the 150 litre in-service version. That said, the kit generally
builds well, with only two areas giving me trouble. The main gear is very flimsy
and I broke one leg removing it from the sprue. The other (and perhaps bigger) issue
is the infuriating horizontal fuselage split that is almost impossible to fair in
and hide (although no worse than ESCI). Much filler (in the form of Tippex) was used
on this one!
Addressing the weapons fit was my next challenge. I had a spare Sky Shadow pod from
(I think) the ESCI kit that looked much more credible than the blobby Airfix parts,
but the BoZ 107 decoy pod needed to be scratch built, using a spare Russian air to
air missile of the same length and a bit of heavy duty hacking and sanding. The external
fuel tanks were also sanded down to a better shape, with the slots for their extra
fins filled. Two Storm Shadow cruise missiles were taken from the spares box (not
sure of their origin - possibly a Hobbyboss Rafale?), with suitable underbody weapons
rails to match. Additional sprue chaff dispensers were added to the Sidewinder rails
to complete the fit. The sidewinder rails do expose another of the kit's shortfalls
- the inner pylon is too shallow, so there really isn't enough room for the sidewinders.
Painting proved a bit of a challenge - when first upgraded to GR.4s, the aircraft
emerged in a natty two-tone grey scheme, with Dark Sea Grey uppers and Dark Camouflage
Grey lower surfaces. This, rather than the later all-over Medium Sea Grey, was the
scheme provided for an IX(B) Sqn aircraft on the Airfix decal sheet. Unfortunately
Humbrol have discontinued the recommended Dark Camouflage Grey (156) from their range,
so I resorted to mixing my own colour using Medium Sea Grey and a little black.
Paint, as always, was entirely hand brushed using thinned Humbrol enamel, with thin
pencil used to mark out panel lines. Three self-adhesive "crystal/jewels" were added
to represent the landing lights. Finally, some sanded pencil lead was wiped on by
finger to provide the characteristic tail staining from the thrust reversers and
then a coat of Klear floor polish to seal and prepare for decalling.
All was looking well at this stage - then came the decals. There really are a lot
of these and the Airfix GR.4 instruction sheet (downloaded from Scalemates) was very
busy and confused looking. More than that, although containing some marvellous detail,
the entire decal sheet seemed to be covered in an additional clear film, not immediately
obvious but tending to appear when you least wanted it. I had heard of this problem
on various on-line forums, more associated with Airfix's Nimrod kits (where the shortfall
prompted a plethora of aftermarket replacement decals).
Careful close trimming of the decals helped, but I can't help but think there was
a printing error somewhere - the decals when you finally get them off the sheet are
very thin and not very good at adhering to the surface, despite my using copious
amounts of Klear. They are also very glossy, but this was not an issue under a final
coat of Windsor & Newton matt acrylic varnish.
Clearly, there are easier ways to build an accurate GR.4 model - the Revell kit would
certainly be my recommended starting point, but despite the issues I have noted above,
this kit came to me very cheaply, with the profits going to charity and it used up
a number of orphan parts from my spares box whilst keeping me happily occupied for
a few weeks. For me, that is what modelling is all about !!!
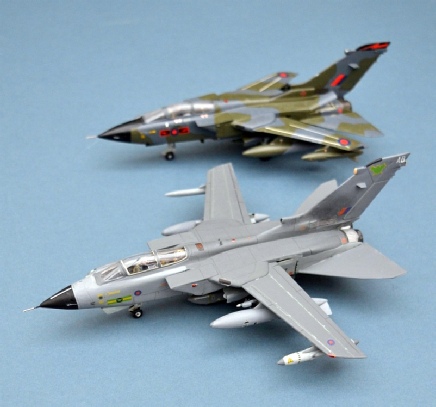
Right: my new GR.4 and old ESCI GR.1 together:
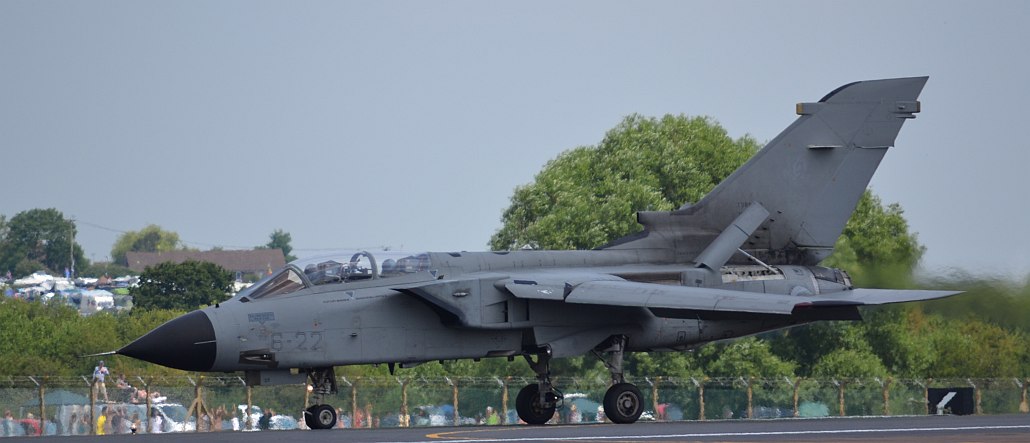
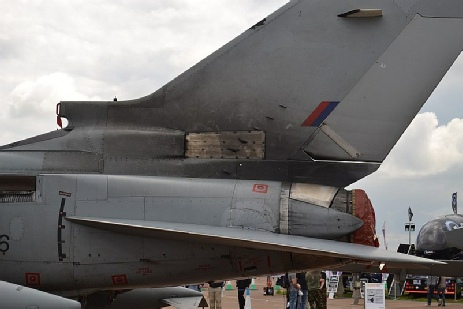
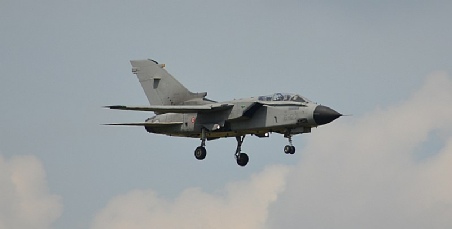
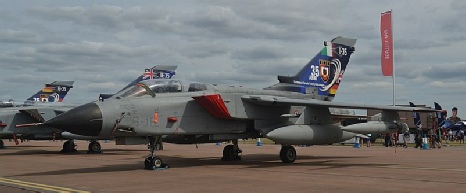
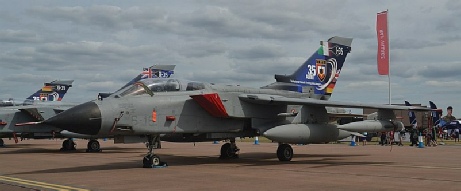
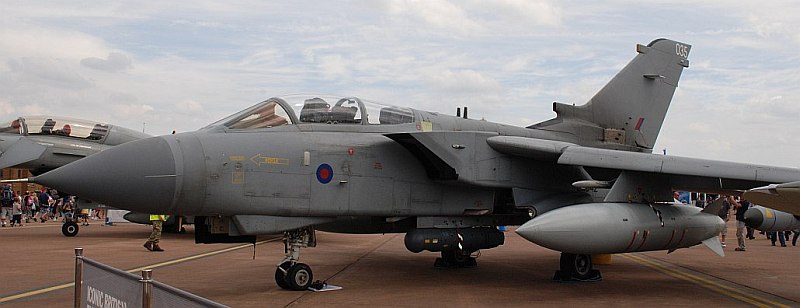
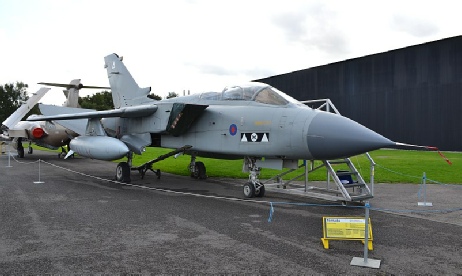
The real thing - an Italian Tornado IDS lands at RIAT 2019
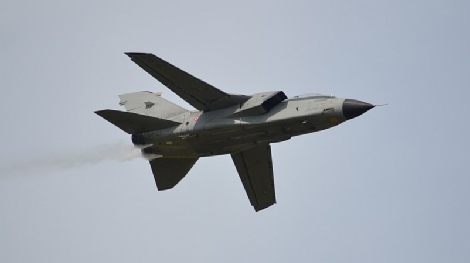
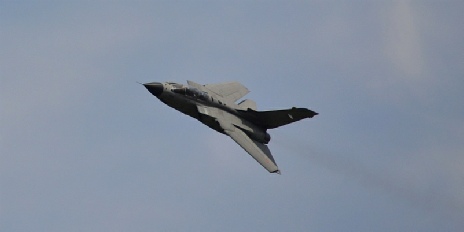
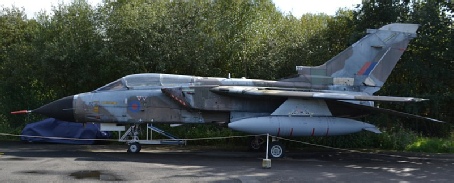
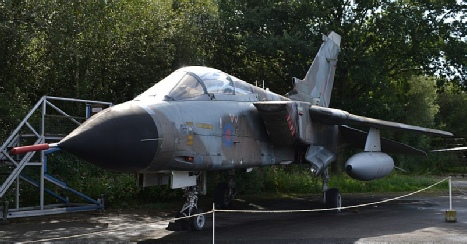
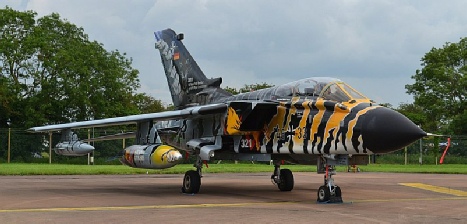
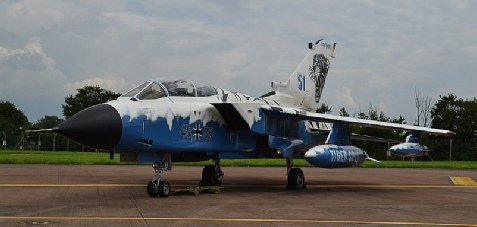
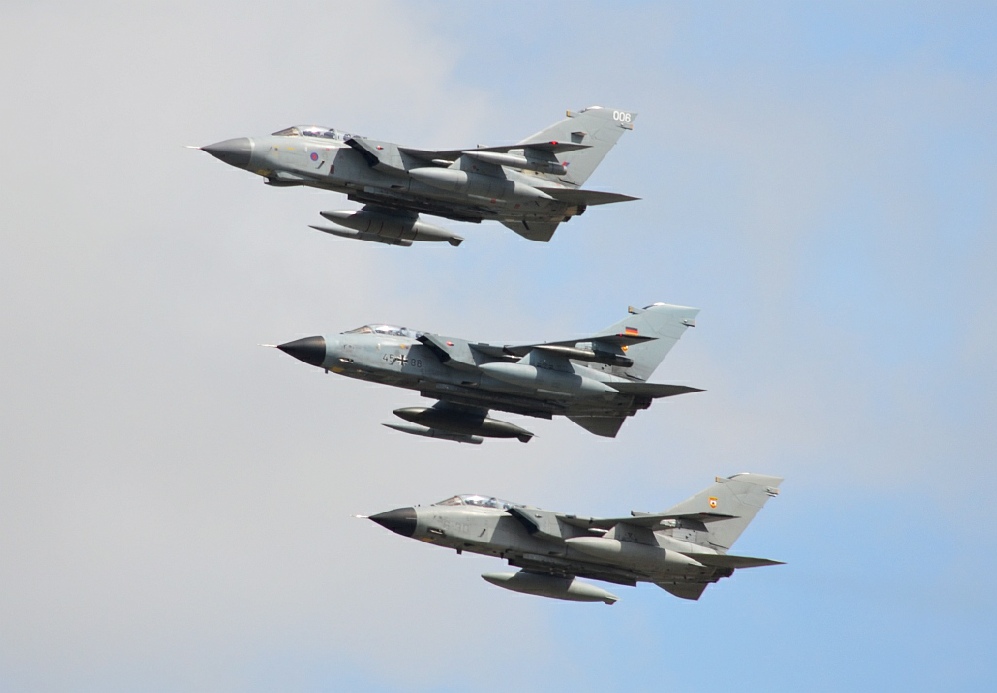
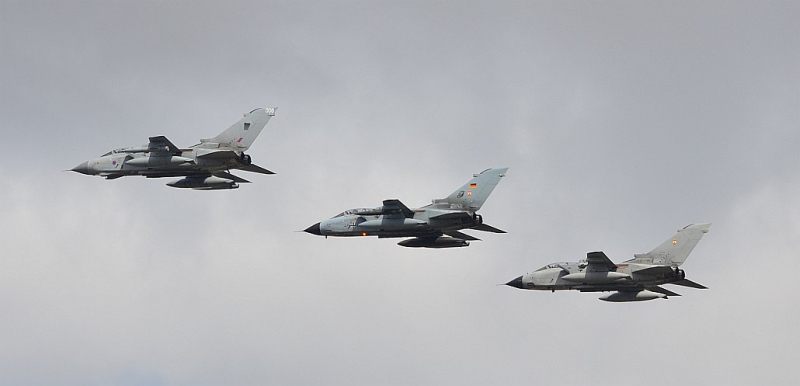
The real thing - Some of my Reference pictures of RAF and international Tornados
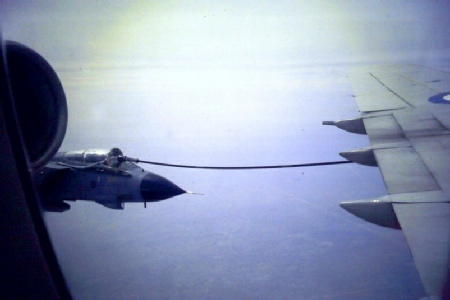
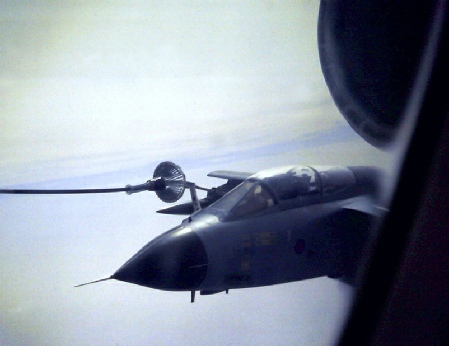
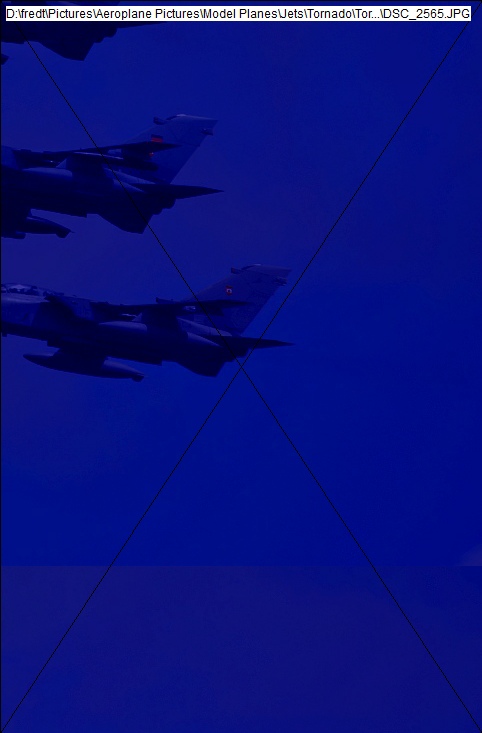
Above and right: RAF GR.1s refuel from a VC.10 over the Saudi/Iraq border during
an Operation Southern Watch patrol over Iraq in 1995.
US Navy Hornets and an EA-6 Prowler wait their turn.

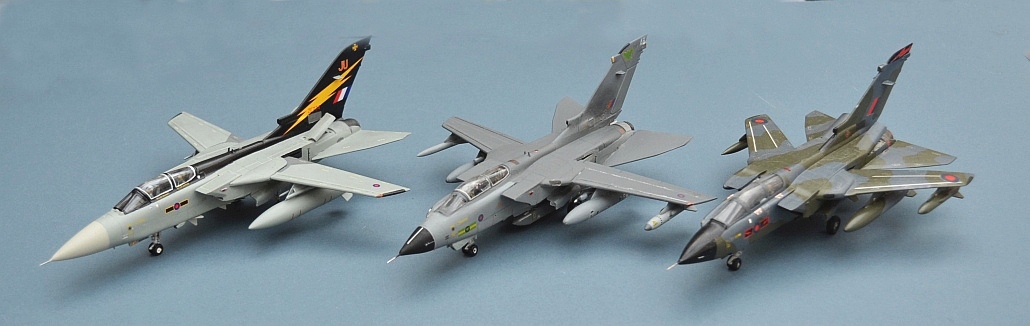
Below: and this wouldn’t be Gengriz, without a group shot of my various Tornado
models together!