April 2017
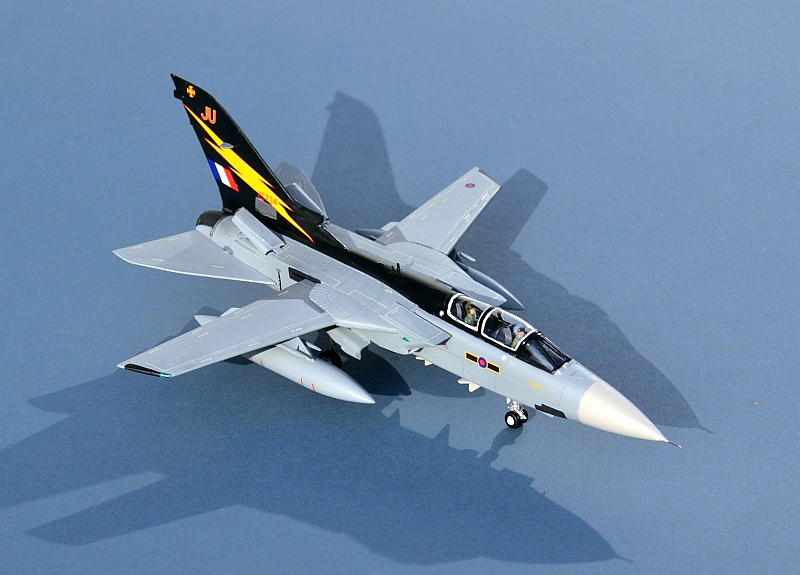
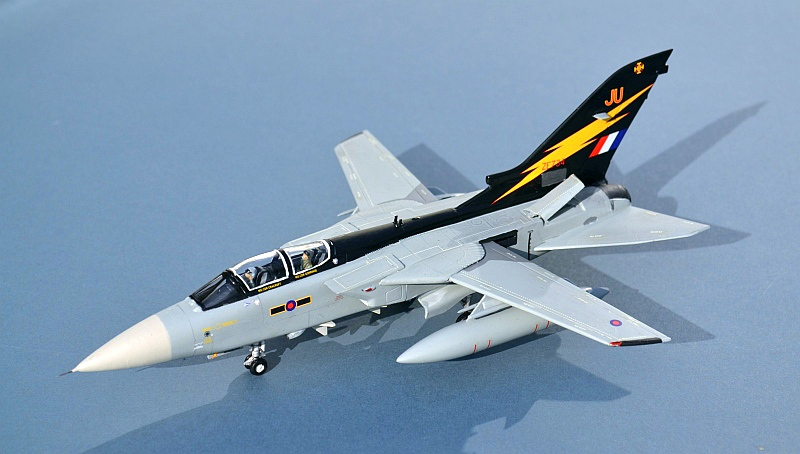
Panavia Tornado F.3
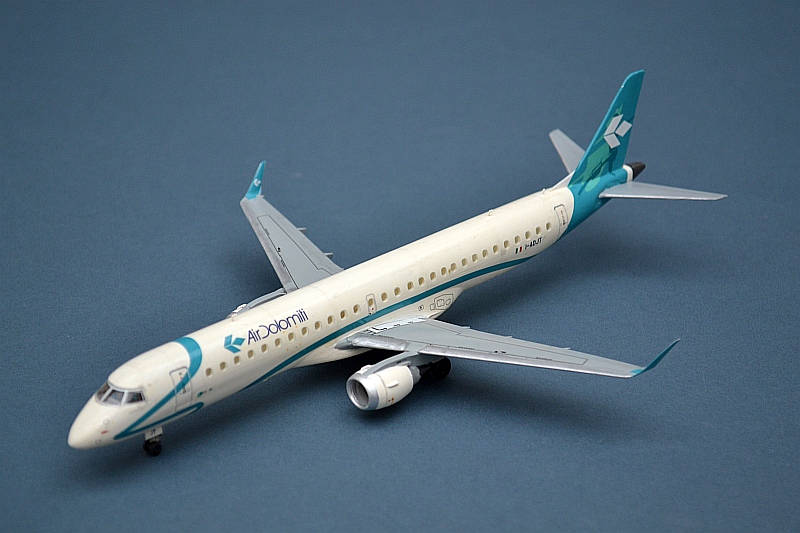
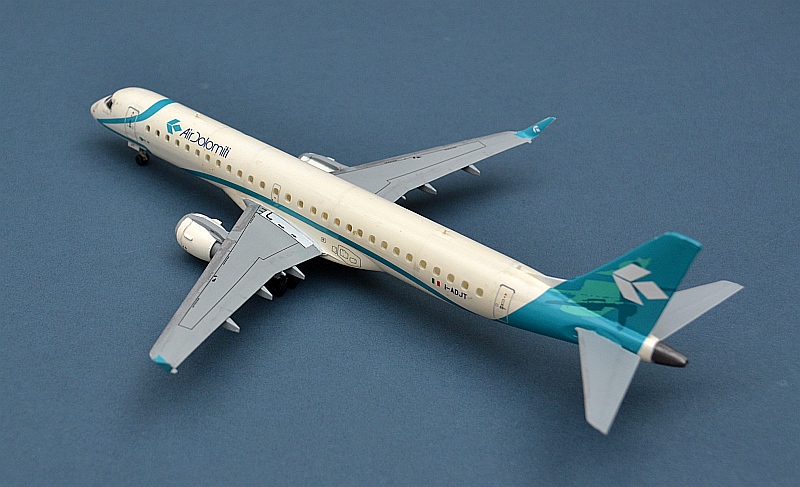
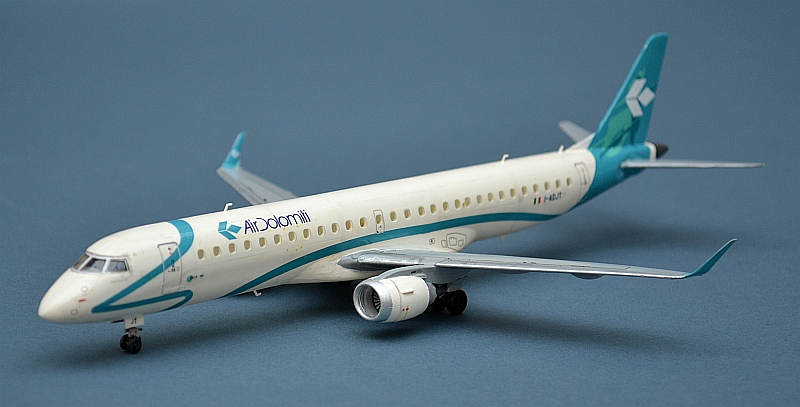
Embraer E195
Link to Website Index: ![]()
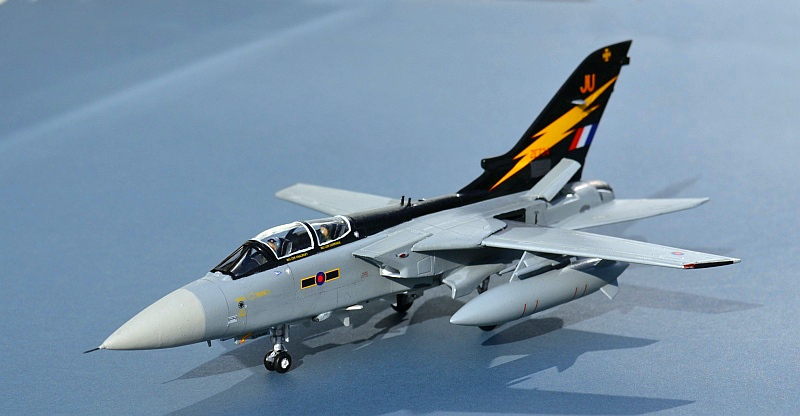
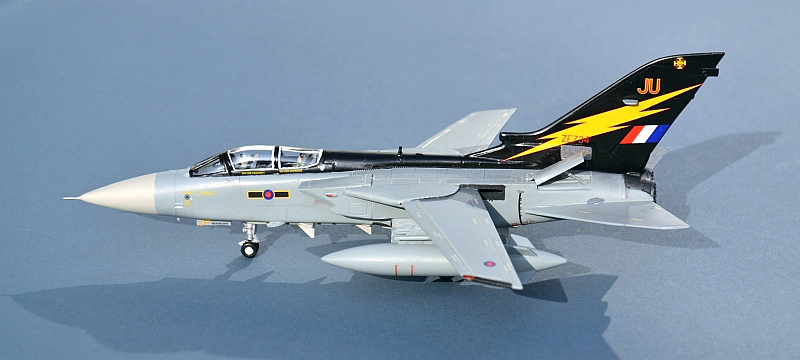
111 Squadron “Tremblers”, RAF Leuchars, Scotland 2011.
Airfix 1/72 with scratch conversion
The F.3 Tornado replaced the Phantom and Lightning in RAF service. Entering service in 1987 it was finally withdrawn in 2011, after a remarkably long and successful period providing air defence of the UK.
The Air Defence Variant of the Tornado was designed specifically for RAF long range
interceptor missions over the North Sea and Atlantic. With its Foxhunter radar,
JTIDS data link and armed with semi-
Toward the end of its service, several aircraft were converted to undertake Suppression
of Enemy Air Defence (SEAD) roles carrying the ALARM anti-
As well as the RAF and Royal Saudi Air Force, Tornado F.3s saw brief service with
the Italian Air Force as a stop-
I
Link to Website Index: ![]()
www.gengriz.co.uk
Background Image: Royal Air Force Panavia Tornado F3 © Chris Lofting. Source: Wikipedia Commons
Have a look at my Friends and Allies pages for more RAF and civil aviation.
A little bit like the real thing, the Airfix F.3 Tornado is a bit of a mixed bag,
looking nice in the box, with reasonable fit, but not really up to the latest standards.
Mine was a cheapy buy of an unboxed Gift Set version, which comes with colourful
decals for a black spined and tailed Leuchars-
Building is reasonably straightforward, although fitment of the tail surfaces requires a little care – the intended moveable feature leaves a very weak and floppy joint. As with most swing wing kits, there is a coupling bar that ensures the wings move evenly, but since there is no way to move the pylons, this is a little wasted. I usually leave this sort of feature functioning to help with stowage space, but in this case I dropped the kit whilst building, the coupling sprang off and one of the wings drooped, so both were fixed in place instead.
Brazilian aircraft manufacturer Embraer has seen considerable success with its E-
First flying in 2004, over 350 are currently in service around the world. Air Dolomiti is a Lufhansa subsidiary, flying 10 E195s from a hub in Munich to regional Italian airports.
I
Recent airliner kits seem to have upped the game at 1:144 scale, and this issue from Revell is no exception. Building is straightforward, with only the wing to under fuselage joint requiring any filler.
A basic one piece cockpit is provided, along with window frame decals. Getting this smoothly faired into the rest of the fuselage is difficult at this scale. Cabin windows are provided as transparent plastic with decals providing the silver framing. Painting around these is challenging and they would have benefited greatly from a coat of dark paint inside.
The decals are most impressive, but not at all easy to apply, especially the thin blue/green stripe along fuselage. After struggling with one side, I cut the other into 3 parts, which made fitting much easier.
Have a look at my Friends and Allies pages for more RAF and civil aviation.

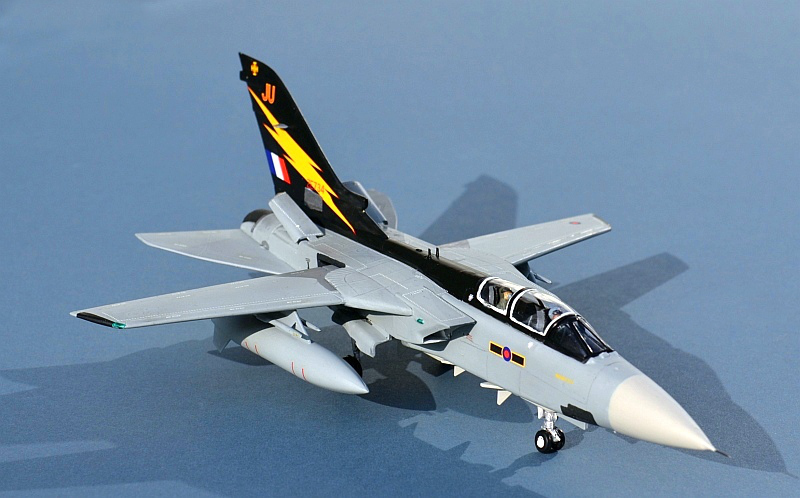
The main fit issue with the kit is the horizontal split of the fuselage. I never like this approach and in this case it is particularly bad; the need to fit the wings before joining the halves makes it very difficult to clean up the seams behind the wing afterward. The nose is a little easier, but it took two applications of Tippex as a filler before I was happy. The other fit issue was the joint on the large Hindenburger fuel tanks (incidentally I’m not sure these are appropriate for the aircraft in this markings). These are particularly bad and once I had sorted them out they were no longer round!
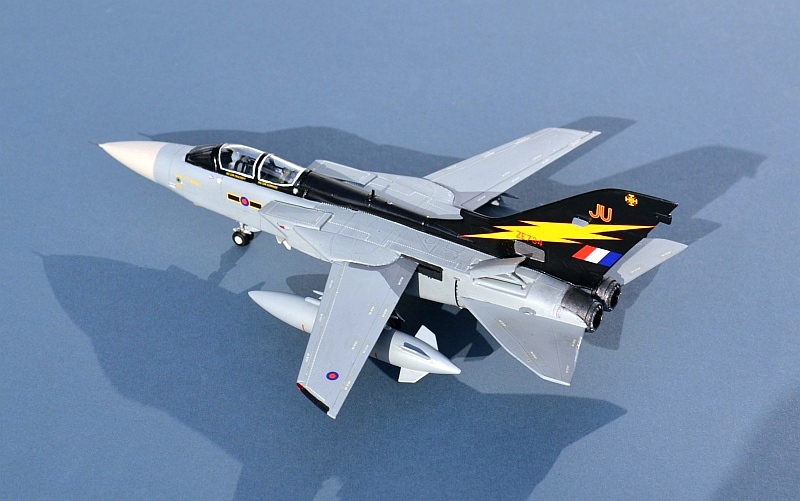
The bare cockpit is very disappointing. I have an old Matchbox F.3 cockpit in my spares box and it is much better however attempts to fit it weren’t successful and I eventually reverted to the Airfix original. Ejector seats are a little strange and definitely need the supplied pilots to complete them.
Weapons are an issue; the kit comes with 4x SkyFlash and 4x Sidewinders (rather skinny ones). As a display aircraft there are few picture sof it armed, but in any event, by 2010 the F.3 fleet was carrying 4x AMRAAM and 2x ASRAAM with an extra (unidentified by me) pod on the inner pylons. Cue the spares box once more!
The gift set decals are good, but include a very much reduced set of stencils, so
much so that I sought out a replacement set (of Matchbox ones) from e-
As is often the case with brush applied grey enamel, I needed two coats to overcome translucency, the first slightly thicker to give cover and the second thinned considerably to give a smooth and consistent finish. After decal application and some very light weathering, I added a top coat of acrylic satin varnish to the black surfaces and matt to the grey.
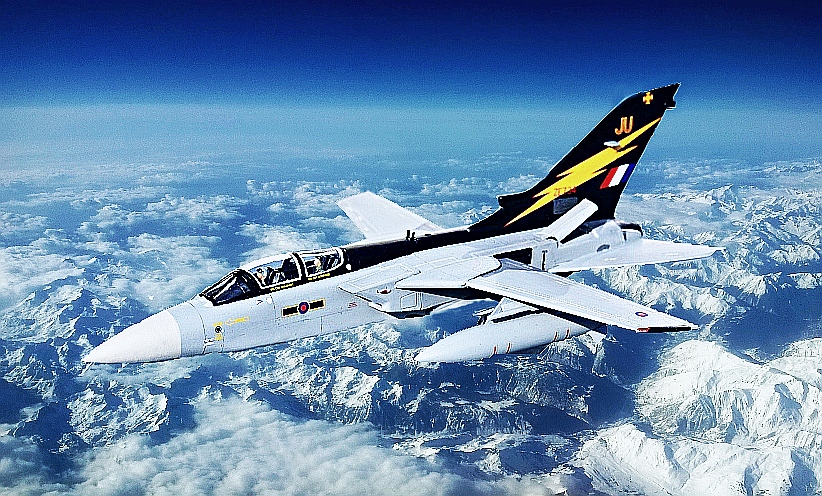
And finally, a little photshopping fun!