February 2016
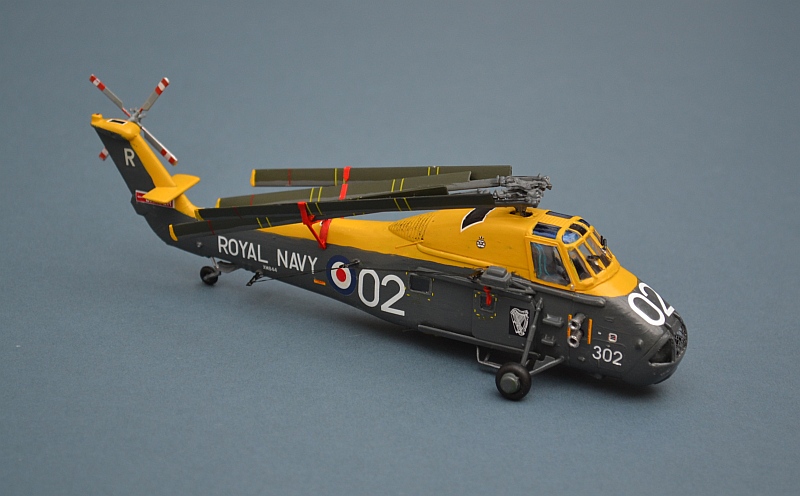
Westland Wessex HAS1
Link to Website Index: ![]()
815 Sqn Fleet Air Arm, HMS ARK ROYAL, 1965
Matchbox with scratch additions and Xtradecal markings 1/72
Link to Website Index: ![]()
www.gengriz.co.uk
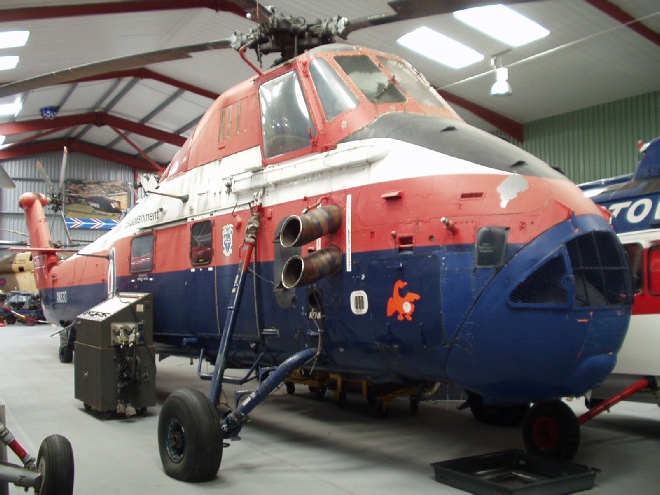
Background Image: Wessex Mk3 at the Helicopter Museum, Weston Super Mare
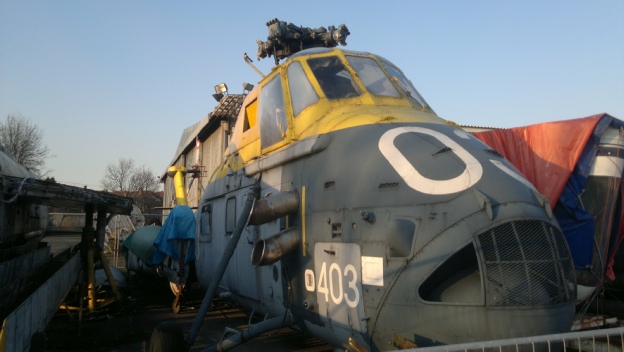
The real thing: A HAS.1 at Doncaster Aeroventure in 2011
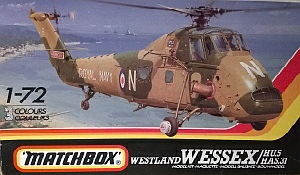
The Matchbox Wessex kit first appeared in 1987 and at the time it caused a great
deal of excitement; up until that point the only option for the 1/72 Wessex modeller
had been the ancient 1963-
At that time, Mk Vs were still in widespread service with the Royal Navy and the similar Mk 2 was in use with the RAF as a troop carrier and SAR aircraft (although the latter was about to be replaced by the ubiquitous Sea King). Naval Wessex aircraft had played a major part in the Falklands war, both as utility helicopters and (in the form of the Mk 3) as an ASW platform. For the overseas market, Matchbox included markings for an Australian HAS.31, with a separate nose section that could be added with a little plastic surgery.

I built my first one of these in 1987, just after release and was pleasantly impressed. In some respects, the kit is typical late Matchbox in terms of quality, a little off in proportions (it is too wide and flat), and with minimal detail. However it also has a remarkable number of parts squashed into its standard size box and is actually quite a complex build, especially if you decide to use the alternative nose (Matchbox give the kit a skill rating of 3 out of 4, with which I strongly agree, in fact I might have gone for 4/4). Pleasant little touches such as the wire aerial masts are surprising on a kit of this level and era and although sparse in detail by today’s standards, it even has a basic cockpit and an option to fold the tail rotor.
Matchbox clearly made a significant effort with this one, with the result that some of the finer parts are a little beyond their moulding technology, suffering from flash and a tendency to break when removed from the sprue, even on the first issues. All of mine (it is a PK133 first issue) have had lots of mould sink marks on the sprues, but to Matchbox’ credit, the sprues have been carefully arranged so that these have not actually been on any of the parts, an impressive achievement.
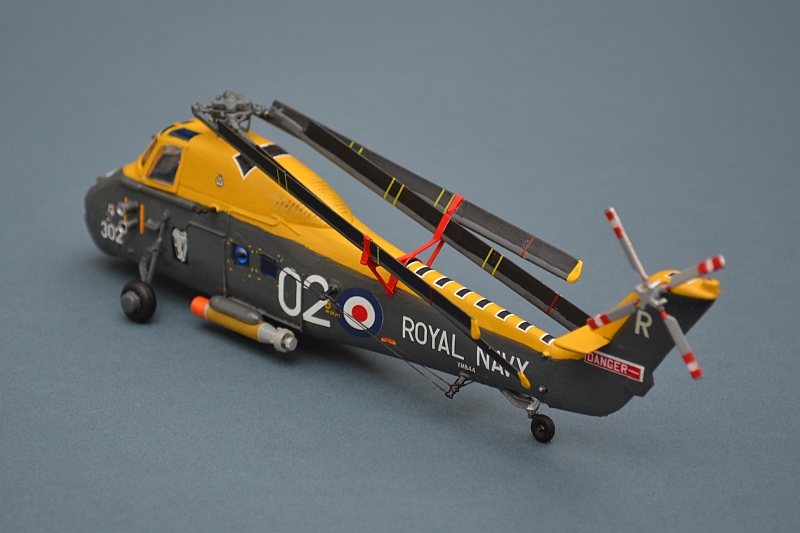
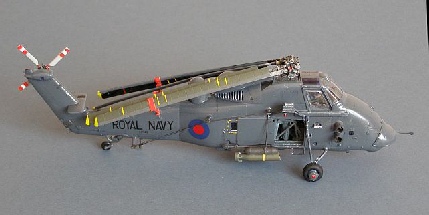
The HAS.1 and Mk 31 are very similar, so the kit is an ideal starting point for use of the Wessex decals from the Xtradecal 815 Sqn set. As with the more modern (and by no means perfect) Italeri/Revell Wessex kit) there are no ASW weapons or pylons provided, so the spares box was raided for some parts from an Airfix Lynx, including a Mk.44 torpedo – not entirely accurate, but good enough.
The kit’s undersides are set up entirely for the Mk V version and no alternatives
are provided for the Mk.31, so a few parts were scratched up including the distinctive
twin doppler mushroom aerials that allow hands-
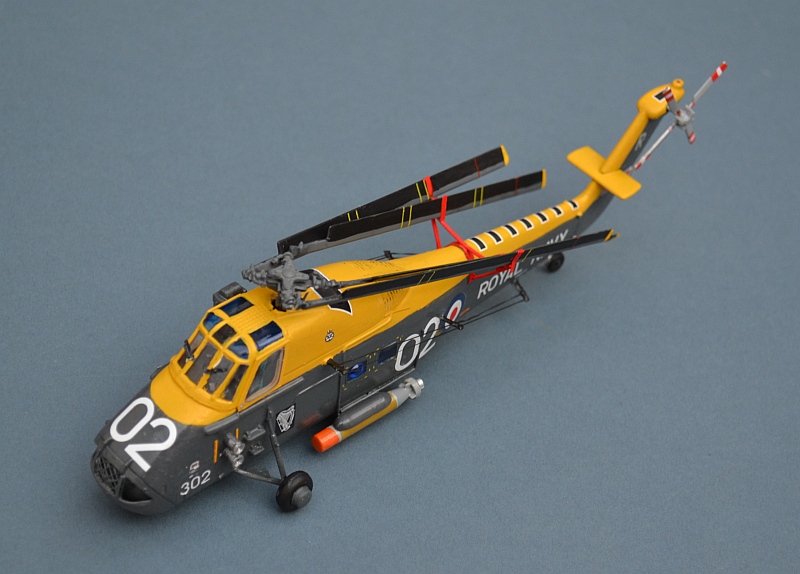
The kit’s intake is very basic, with a solid part over the metal gauze central section.
This is such a distinctive feature of the Wessex that I had to fix it, carefully
cutting out the incorrect part and replacing it with some suitable material and plastic
strip. It kind-
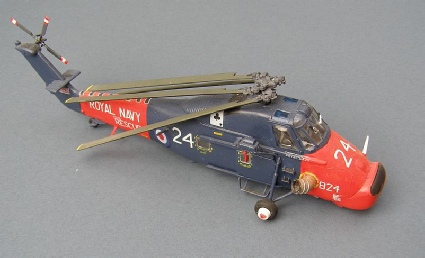
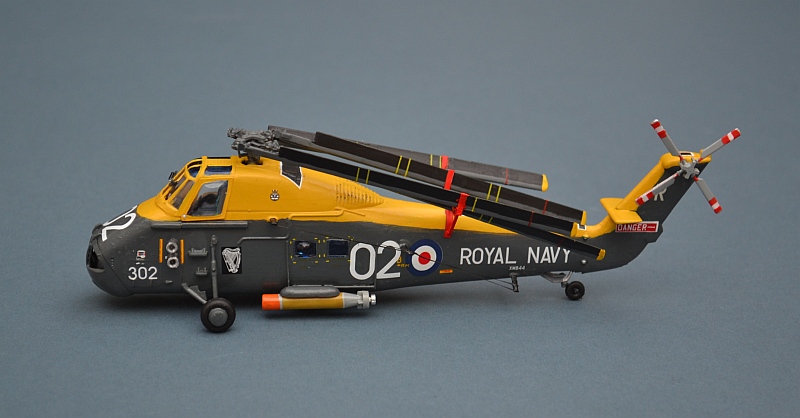
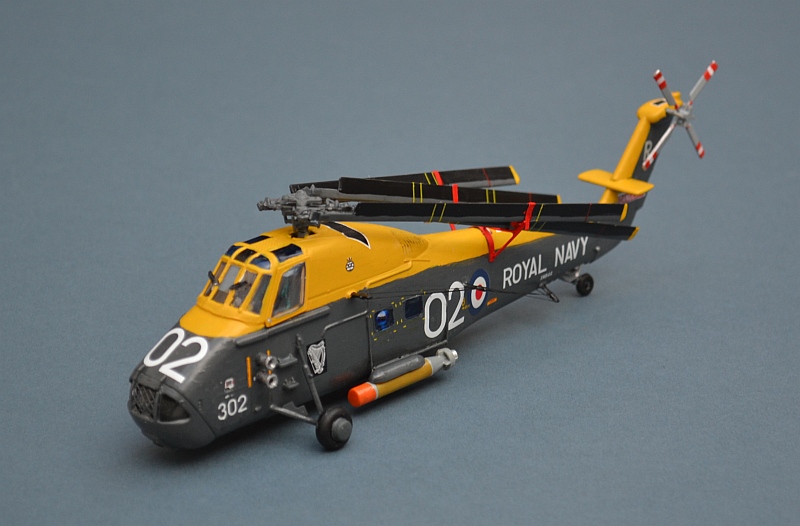
My current “policy” on helicopter blades is to try and fold them, both for storage/display purposes and because I think they often look much better that way. I did exactly this 7 years ago with my Wessex 3, constructing a simple frame from plastic card and sprue to hold the stowed blades on the tail.
Its not entirely accurate, but good enough for me, so I have repeated the trick with
this one. More importantly I have listened to the numerous feedback e-
A quick word of warning; it is possible to attach the the tail rotor the wrong way round (this is one of the major criticisms of the Revell kit), so check a photo before you glue. Finally, the wire aerials were added to their posts using lycra thread and superglue. This is a moderately fiddly job that adds a huge amount to the final model’s appearance, especially if you add both sets.
Painting the model was a pain and needs to be done progressively during the build before individual areas become inaccessible. Yellow is never easy to paint and I added a white undercoat to help cover the green/grey and blue multicoloured Matchbox plastic. Pain is a mix of Humbrol (yellow/white and others) and Xtracolour enamels, all brushed on as normal.
The Xtracolour RAF blue/grey is a good match for the real thing, but suffered form a problem I have often found with Xtracolour paint; it seemed reluctant to actually spread over the surface and was very translucent, demanding a second coat. Interestingly, it dried much less translucent than it looked as I applied it. To be fair, this is a tin I have used several times before, so that may have been the problem. A coat of Klear floor polish was applied before the decals, which are a mix of the Xtradecal set, plus some kit Matchbox ones, plus a few from the Revell kit.
The final result is very pleasing and adds another important RN aircraft to my collection.
This kit is not the easiest of builds and not really recommended for beginners (Italeri’s
kit is a far better option for a Mk V or HAS 3, although still a complex build).
Matchbox/Revell made two further releases of the kit, a colourful SAR variant in
1991 and the original re-
However, despite its age, it remains a viable option for those who wish to have an early Wessex in their collection.
The real thing: A Wessex Mk.1 at the WSM Helicopter Museum in RAE colours
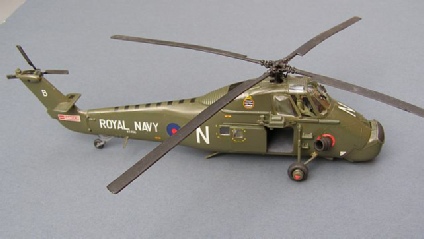
On its introduction to service in 1961, the gas turbine powered Wessex marked a step change in the Royal Navy’s anti submarine warfare capabilities. It was the first Fleet Air Arm helicopter to be designed for ASW from the start, bringing a number of key improvements over its predecessor, the Whirlwind.
With advanced avionics, the ability to carry the latest NATO Mk.44 homing torpedoes
and a US-
The Wessex HAS1 was hugely successful, but naval technology was moving rapidly forward and it was soon obsolescent. With the introduction in 1967 of a far more capable UK dipping sonar by the Plessey company a practical lightweight radar set and a more powerful engine, a new Wessex variant, the HAS3, was introduced. A number of Mk.3s were converted from Mk.1s, with many of the rest being adapted for Search and Rescue duties, a role in which they continued until the late 1970s.
My other Wessex Models (to date!) (Have a look at my Helicopters pages: