April
2009
![]()
BAC/English Electric Canberra TT.18, FRADU, RNAS Yeovilton, 1993.
Italeri B-57, with Airwaves and Magna Canberra conversion kits.
Next project; a FRADU Royal Navy TT.18 Canberra, using the Italeri B-57, Airwaves resin B2 nose, undercarriage and engine conversion, plus Magna resin/white metal Rushton winches/targets. Might take a little longer than usual as I want to go to town on this one.
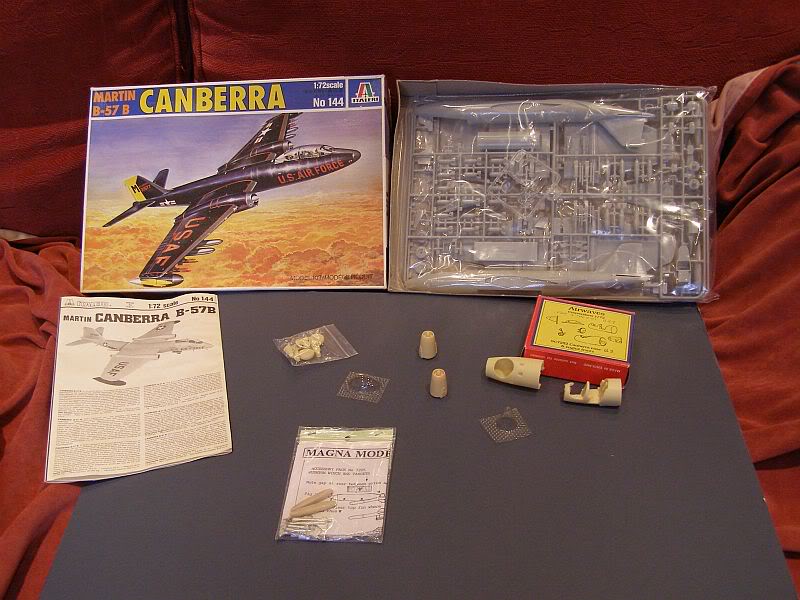
The resin Airwaves bits look superb, although I can see a number of potential construction traps, namely the need to do a perfect butt joint of the new nose to the fuselage, plus the need to finish the interior painting etc before the heavy sanding/glueing begins.
I am sitting here staring at the kit for now, contemplating whether I am really up to rescribing it all. The Italeri panel lines are very finely raised and not too bad, but I think a rescribe is needed. Flaps are supplied moulded shut, but the interior detail is all there, so I will be opening them up.
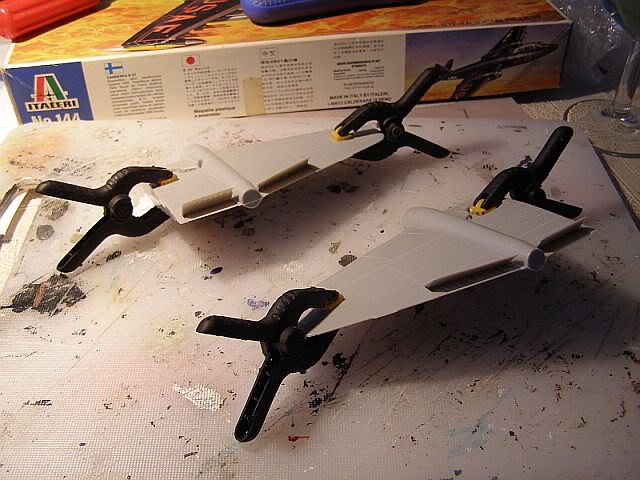
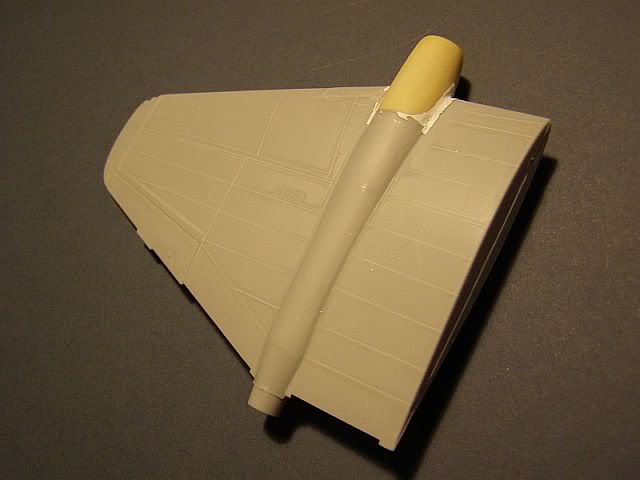
Wings rescribed and assembled with flaps lowered:
Fuselage assembled and wings rescribed. I guess these ones are for the Australian version?
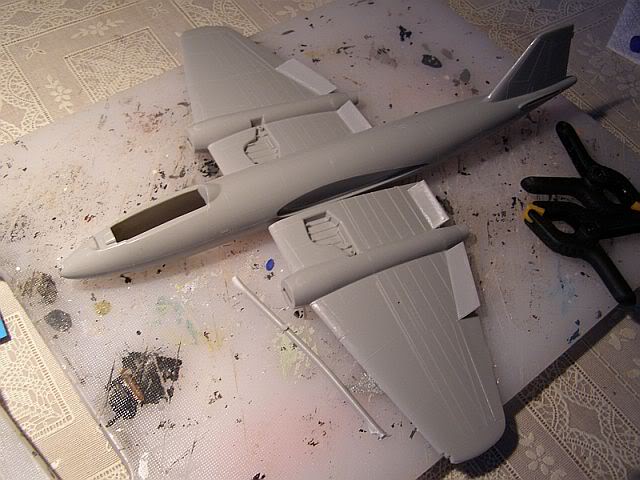
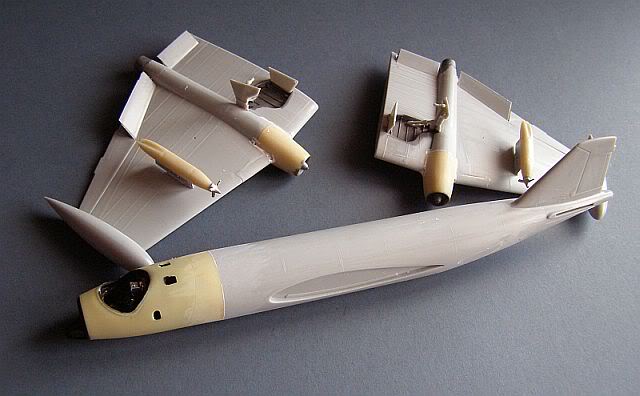
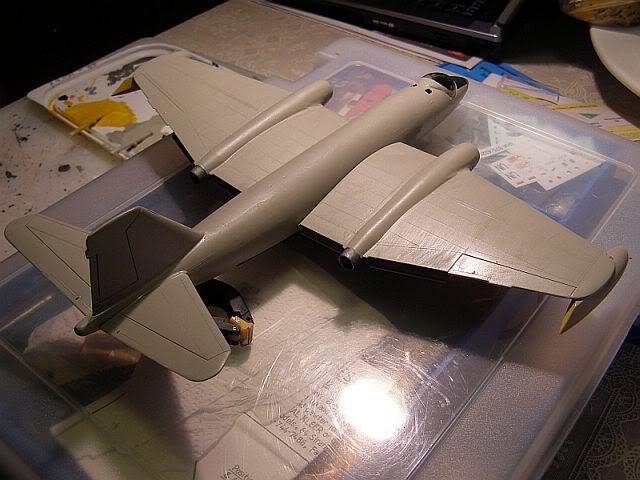
B-57 cockpit section removed ready for the resin insert. Wings sanded back and new engine fronts inserted.
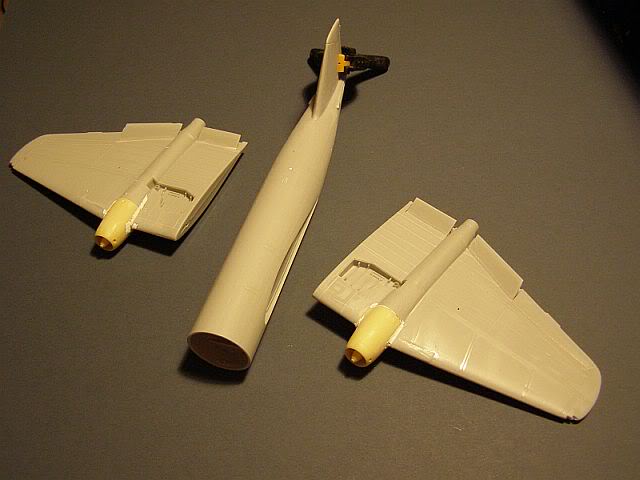
Close up of the rescribed and sanded wings. Difficult to tell at this stage, but the rescribing looks to have been a success. A modest amount of Tippex was needed to fill the joints.
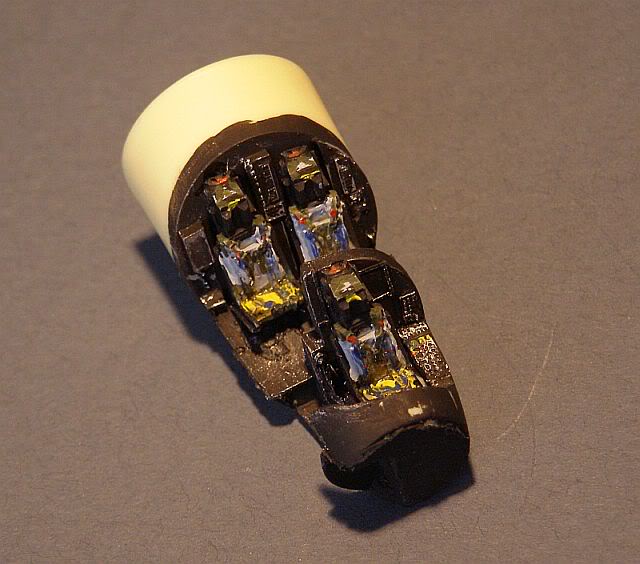
The fuselage section has a large pouring tab inside its rear end that needs to be removed to allow the insert to be put in place. - this required a fair deal of delicate sanding (the resin fuselage sides are very thin and I was quite concerned that I might break them). After that it was a quick job to paint the cockpit, then a quick dry brush with silver, followed by highlighting of a few instruments in other colours. The fine detail in the resin parts is really superb; I know this wasn't a cheap set, but you definitely get your money's worth!
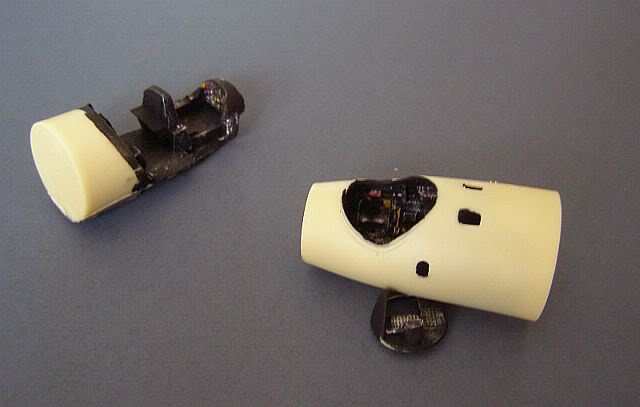
The resin seats are also quite superb - mind you this is probably the last time that the two after ones will be seen!
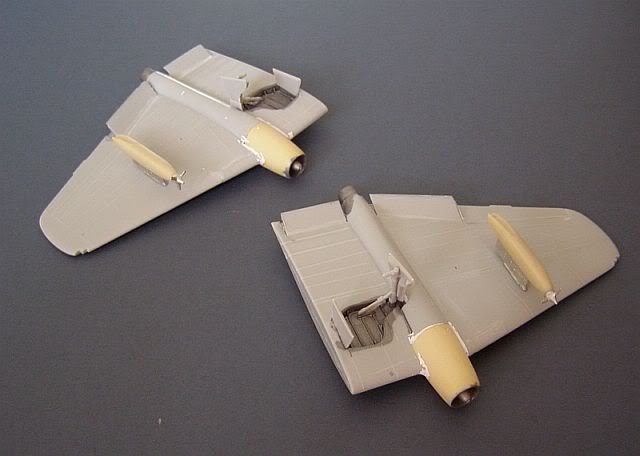
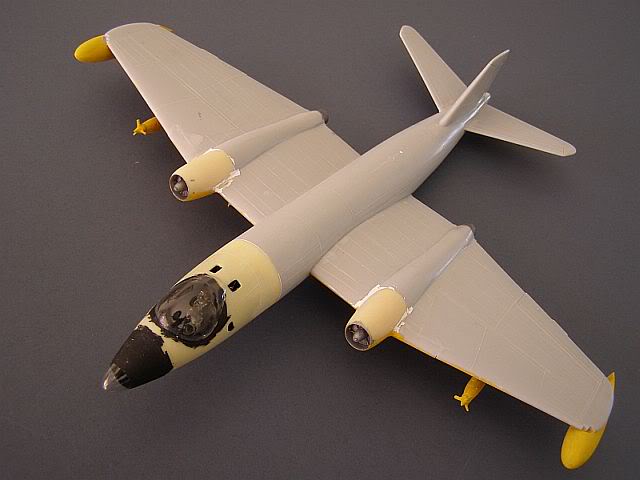
Then it was on with the wings. The new resin engine fronts needed a bit more tidying up, then I added the undercarriage and the Magna resin and white metal Rushton pylons and winches.
Wing tanks attached and the new fuselage section added. Once again, the Airwaves parts seem to be superb and fitted almost perfectly, with a very modest amount of Tippex in the gaps.
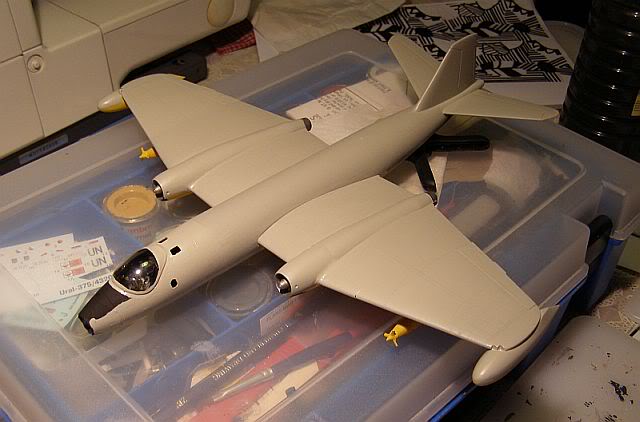
Clear vac-formed nose trimmed and attached. Like all of the other Airwaves parts, this fitted perfectly, and I don't think I will need to add any filler to smooth the joint!
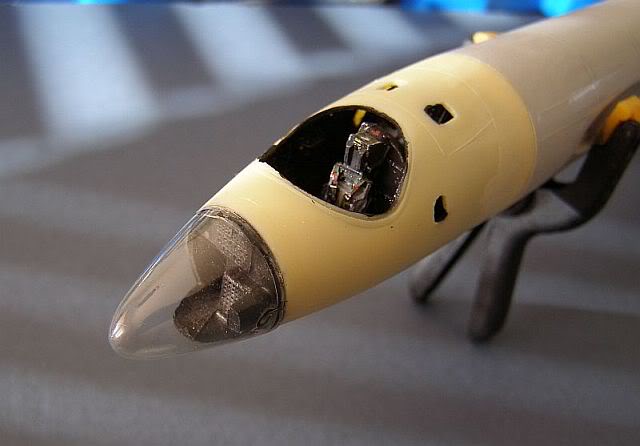
The canopy was rather more difficult to trim, but once completed, it too fitted perfectly.
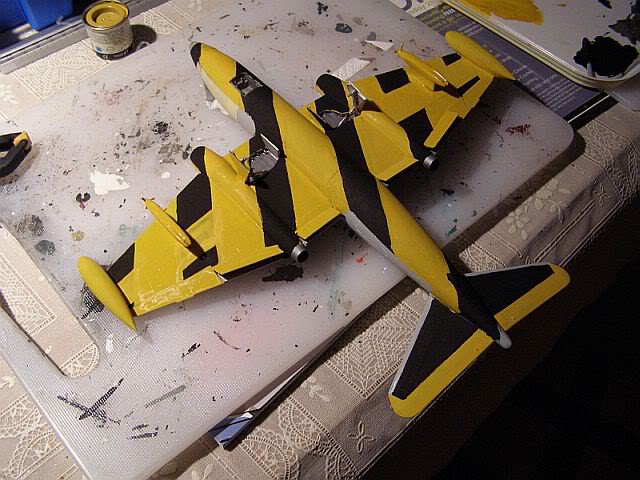
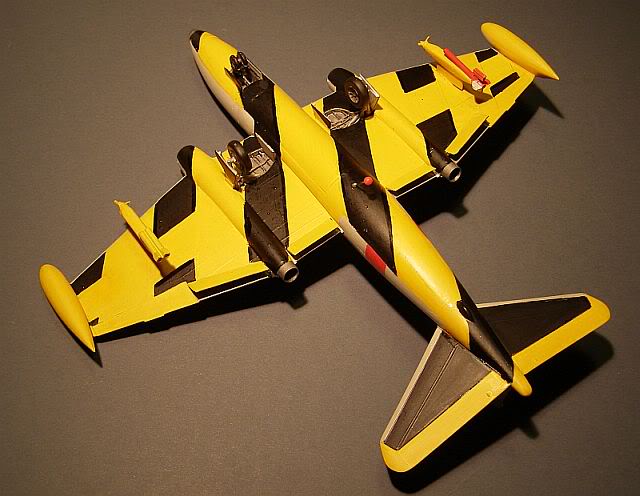
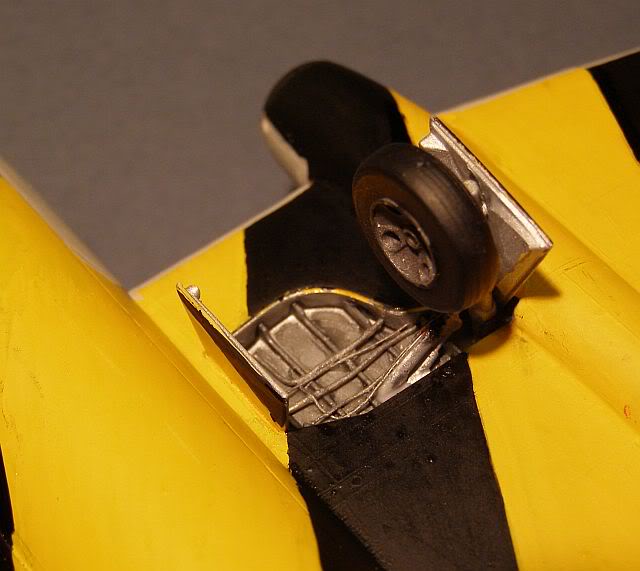
Painting the stripey undersides has been a rather different prospect though. It has been pointed out to me that doing it before attaching the undercarriage and winches might have been easier, which is a fair comment!. However the real problem has been masking out the black stripes so that they remain parallel looking from a distance. This picture is after the third attempt; the first set of guide lines had to be sanded back off, which is why the yellow now looks rather uneven in places. I think I have cracked it this time!
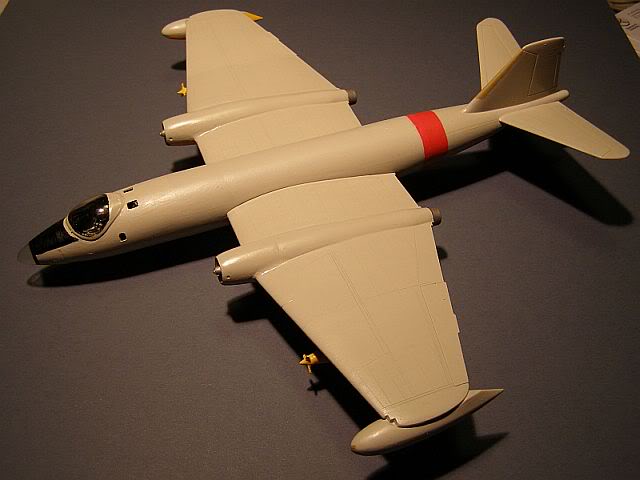
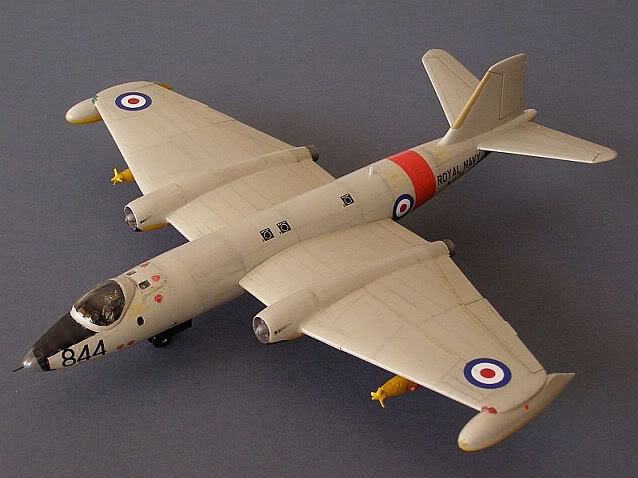
Reasonably happy with progress on the undersides, so time to address the topsides. I have decided to use Light Aircraft Grey/Sky (Humbrol 166) for the top coat, although I believe that the actual aircraft had a metallic Cerrux style paint.
These pictures are after the second coat - I find that light grey is particularly difficult to paint, as it inevitably shows any minor variation in the surface below, and can also become almost translucent when you overcoat it with varnish, revealing blemishes that you just couldn't see before.
At this stage it looks quite good - we shall see how it progresses!
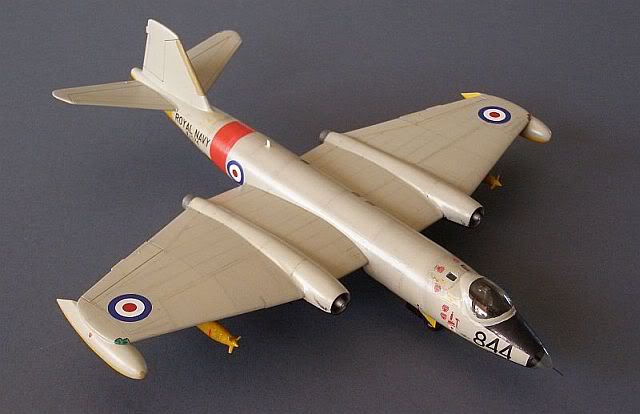
This has been one of those funny days - I started with things looking good; by midday I was having doubts, and by teatime I was pretty unhappy. The grey paint seems to adopt a different colour every time you apply it, and the nose section was decidedly lighter than the rest of the aircraft. This evening I have re-coated the entire fuselage with a very thin coat, that seem sot have resolved the problem - we shall see tomorrow in daylight.
The aircraft doesn't stand on its own wheels either, so I have had to add a prop under the rear fuselage. I have added a Rushton target (plus flares) to one winch and a set of sleeve targets to the other.
Quite pleased with the wheel wells too - I have added a bit of extra detail just to make it look a bit busier:
A couple of antenna to add tomorrow, then we might look at decalling.
.....and some finished pictures. An excellent fun build, with extensive modifications that went surprisingly well:
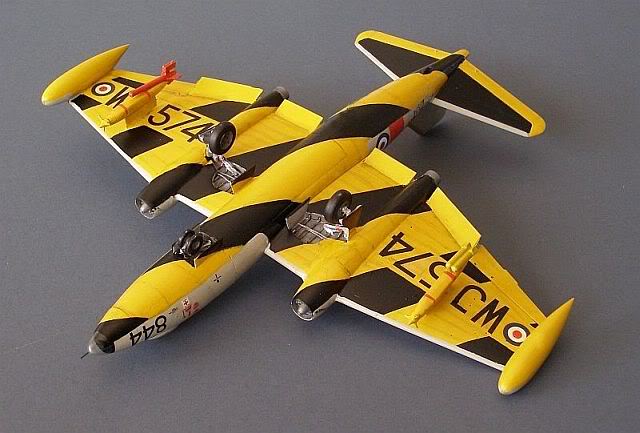
More on the Canberra on the RN Jets pages
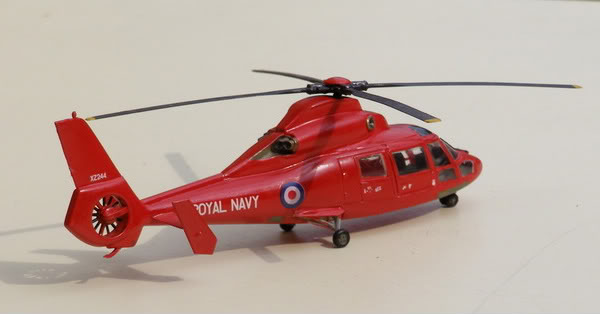
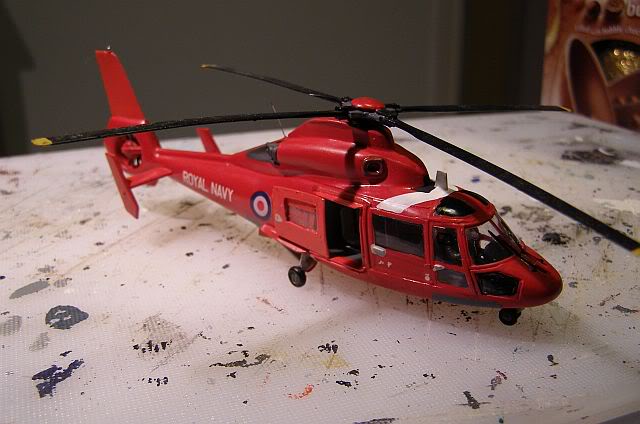
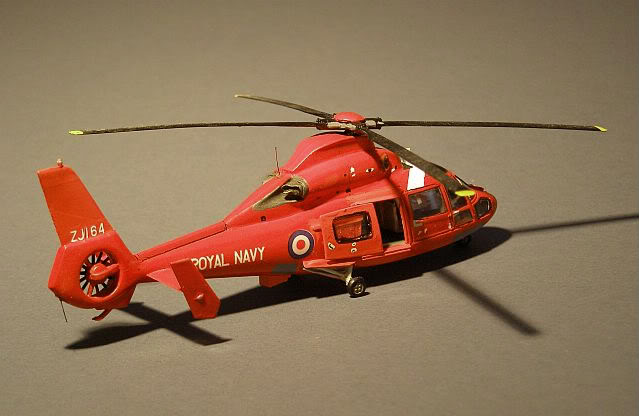
Aerospatiale AS365 Dauphin 2 - FOST, Roborough Airport, Plymouth 1996.
Whilst waiting on the Canberra to dry, I have begun to update my old Dauphin helicopter. This is the old Matchbox kit, which is occasionally re-released by Revell. Nearly 10 years ago I simply painted the kit red, then added some generic Royal Navy decals. The real thing has a few more differences than that, so I intend to make a few changes:
Here is the starting point:
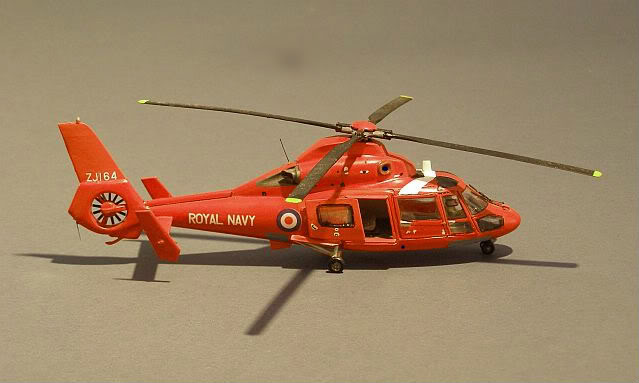
....And off we go: Blade antenna added and (wrong style of) cabin door removed. New door assembled from plastic card.
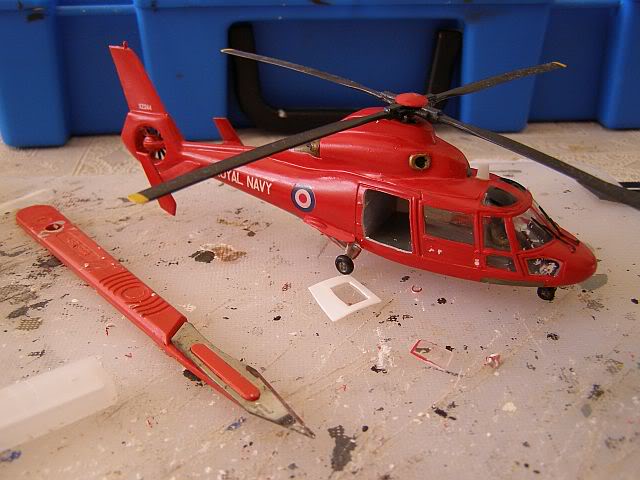
Door fittings and various other plastic card bits attached. Seats (a row of three and a row of two) have been made up on rafts so I can insert them into the cabin and glue them to the existing floor.
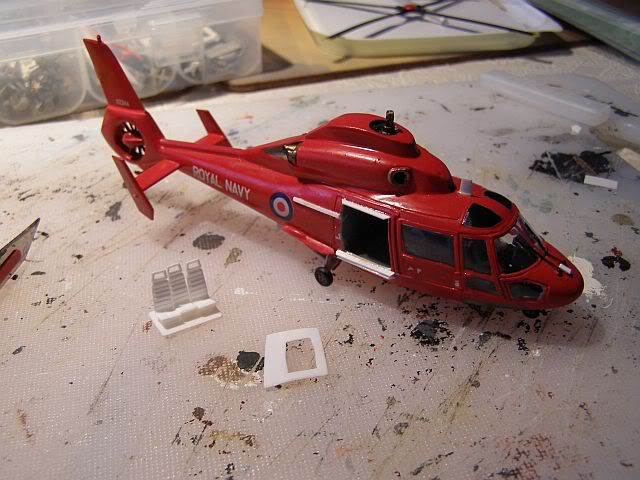
RadAlt fairing has been added underneath (a suitably shaped bit from the spares box; no idea what it was originally or where it came from, but it looks perfect ! ). I am not going to try to repair some of the fundamental problems with this old build - for example the seams are less than perfect, as I suspect that fixing them would result in other bits getting broken.
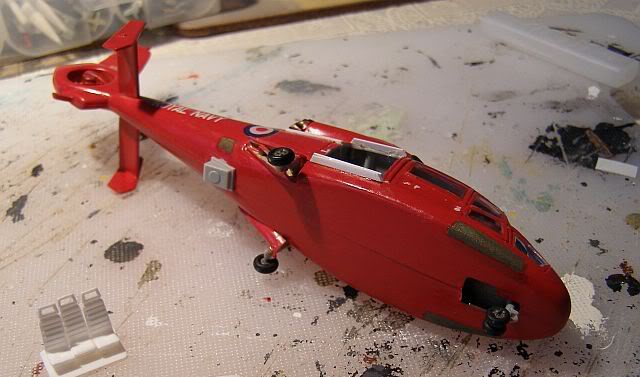
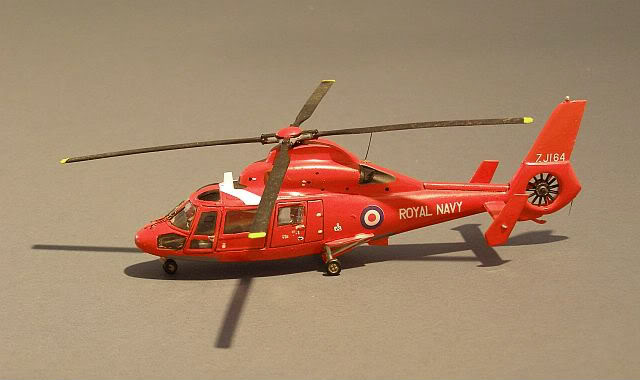
I have now repainted the intakes (a dark plasticy red) and exhausts (home mixed burnt metal) and the main rotor blade roots, plus I have added some whip aerials (monofilament thread). Various other parts have had a touch up. The new cabin door will need another coat, plus back outlining for the window. Other black, white and grey details/stripes have been painted by hand. Serials tomorrow.
Finally, the finished article - a significant improvement, I am sure you will agree!
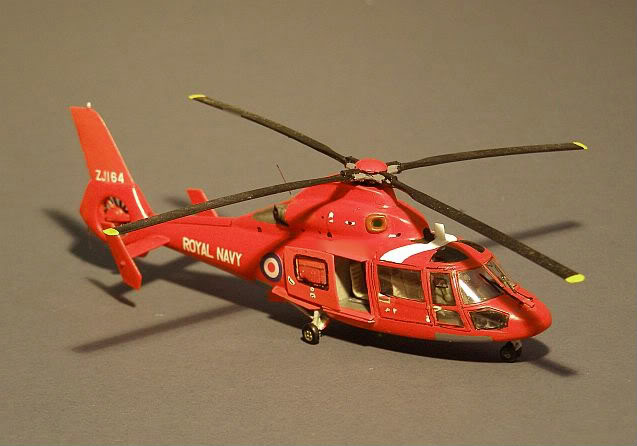
More pictures on the Helicopters pages
www.gengriz.co.uk